CUTOUT CARD SETS

VIDEOS | CLICK TO PLAY
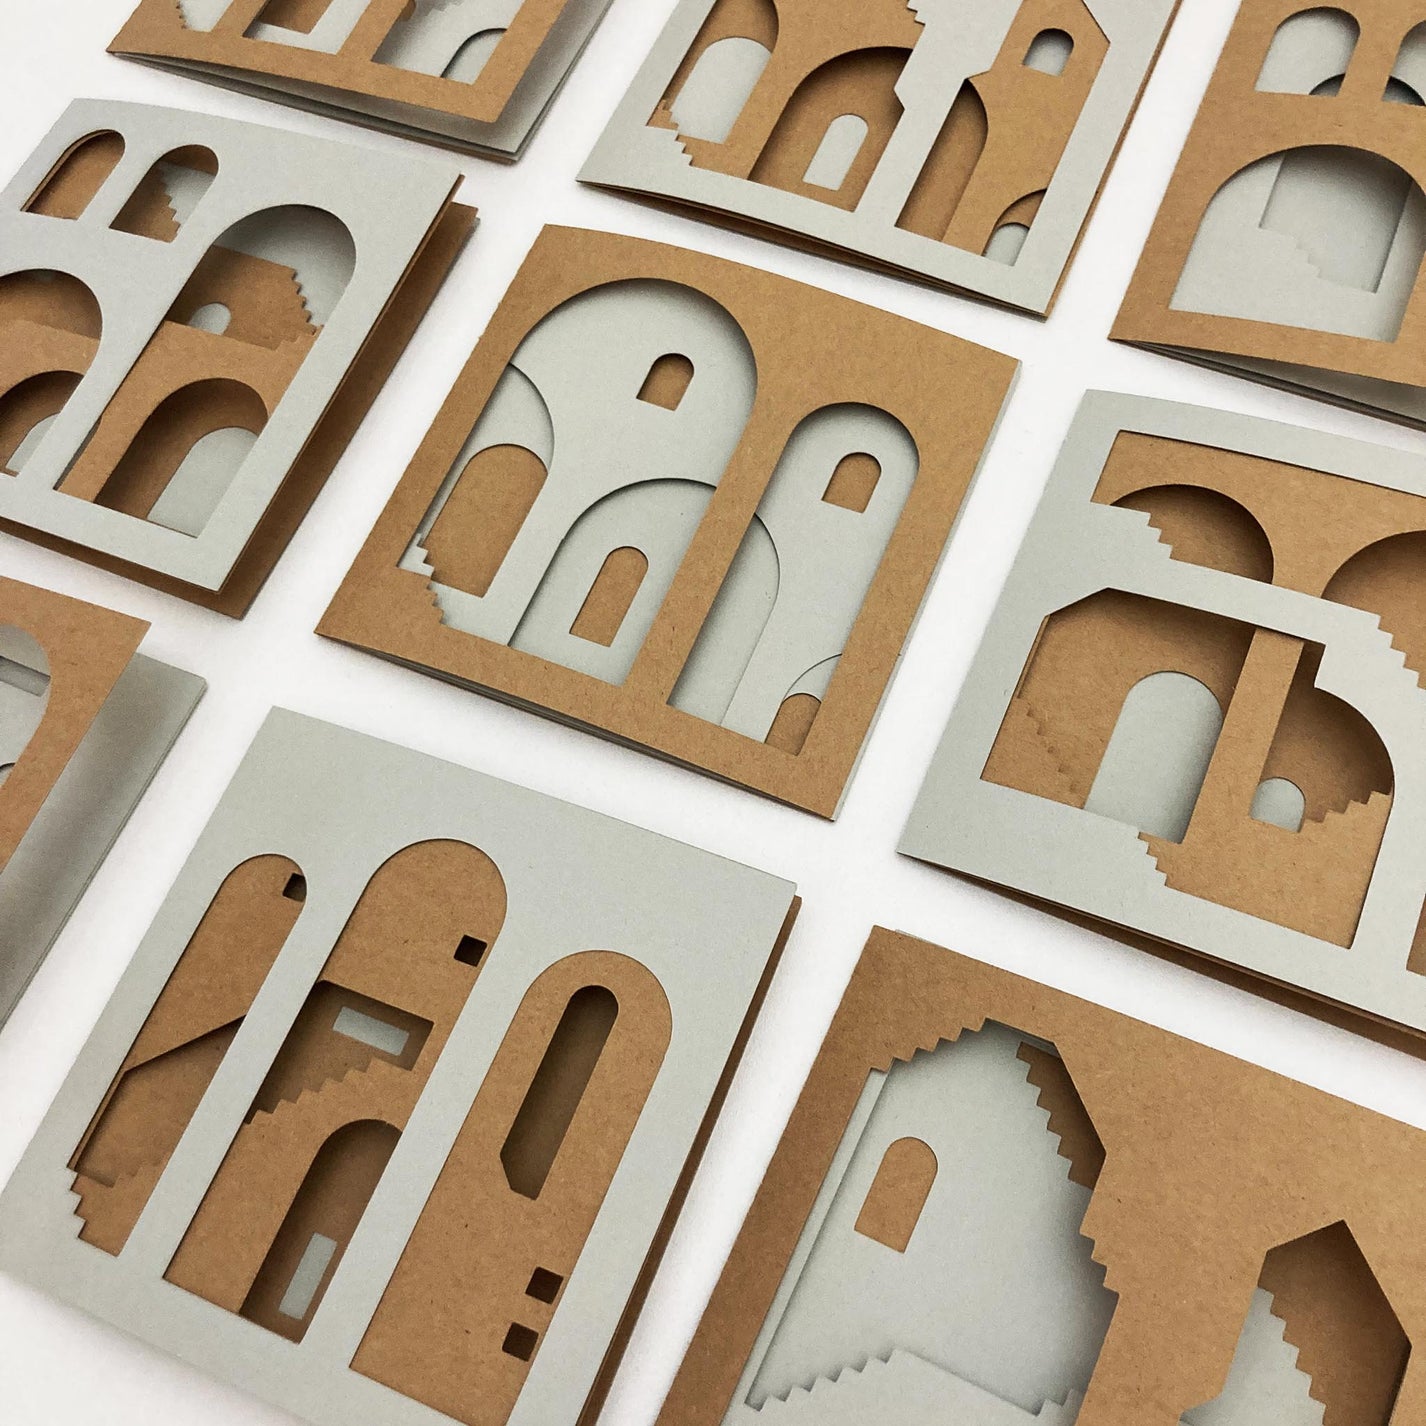
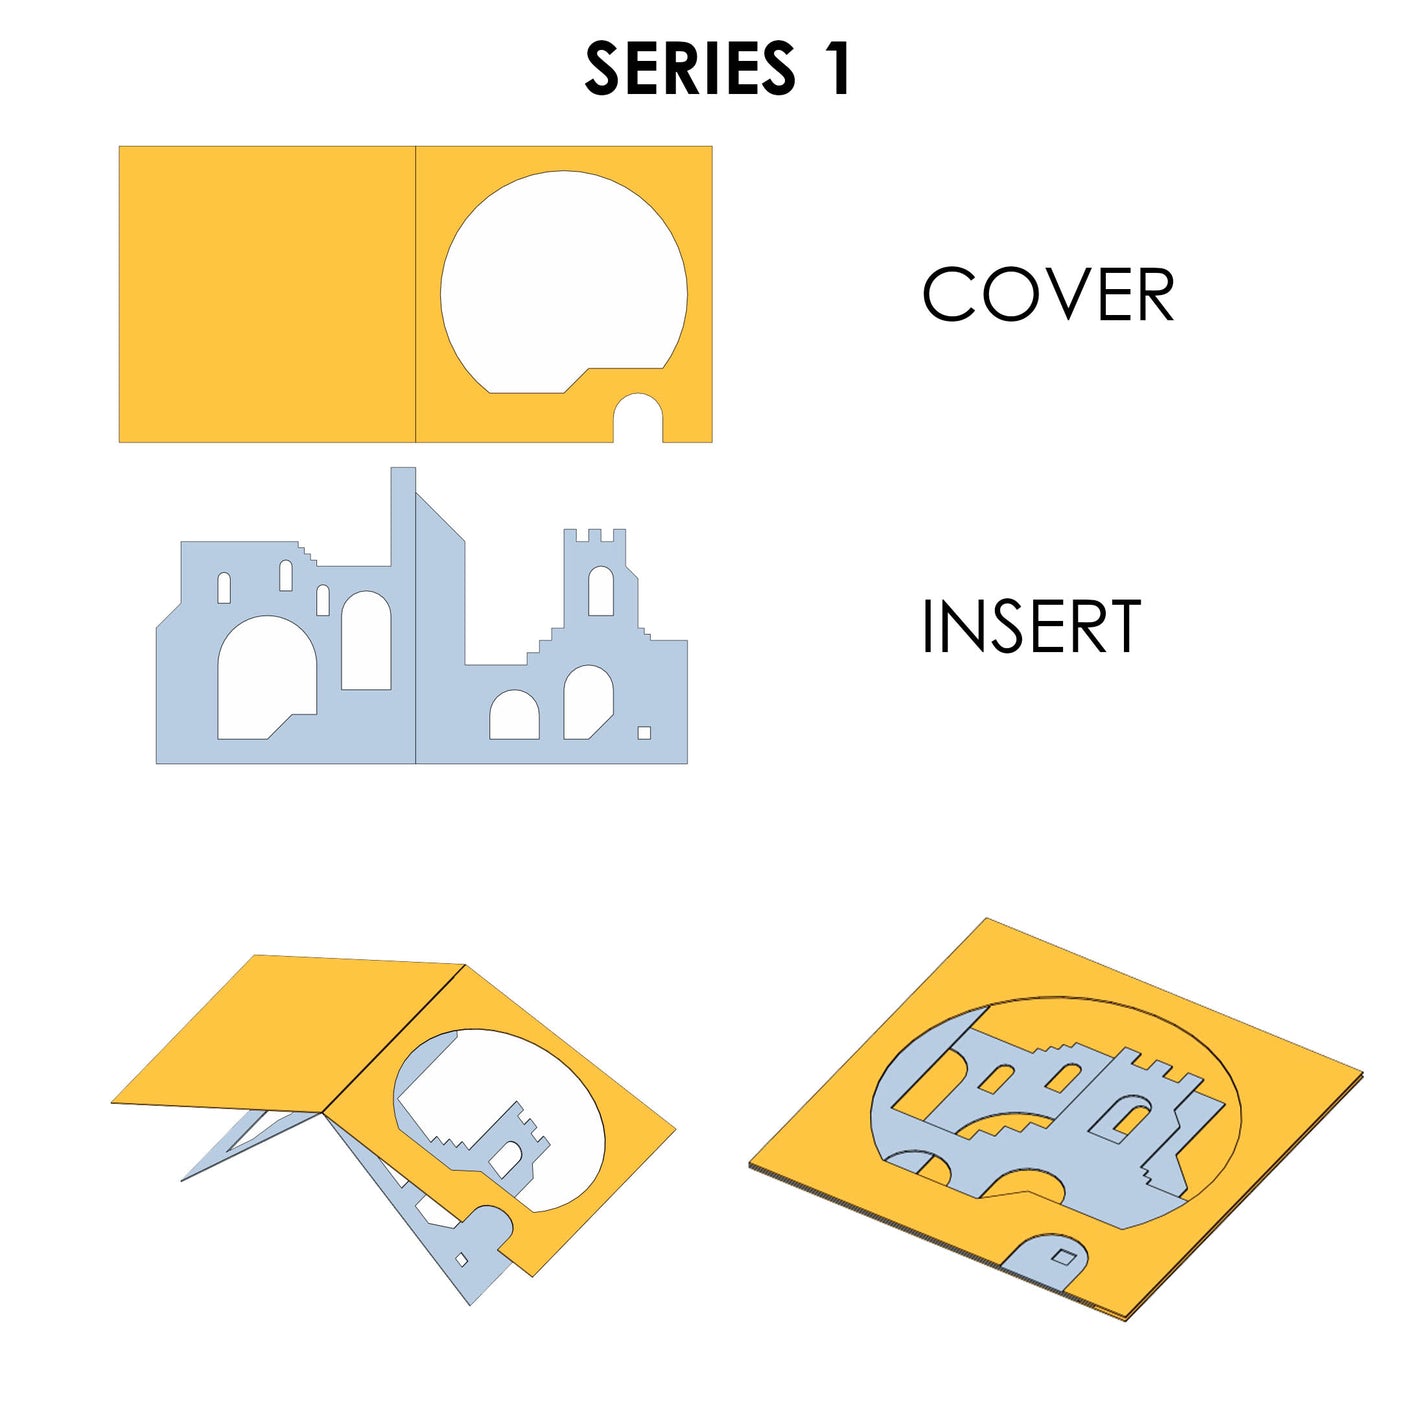
ARCHWAYS | SERIES 1
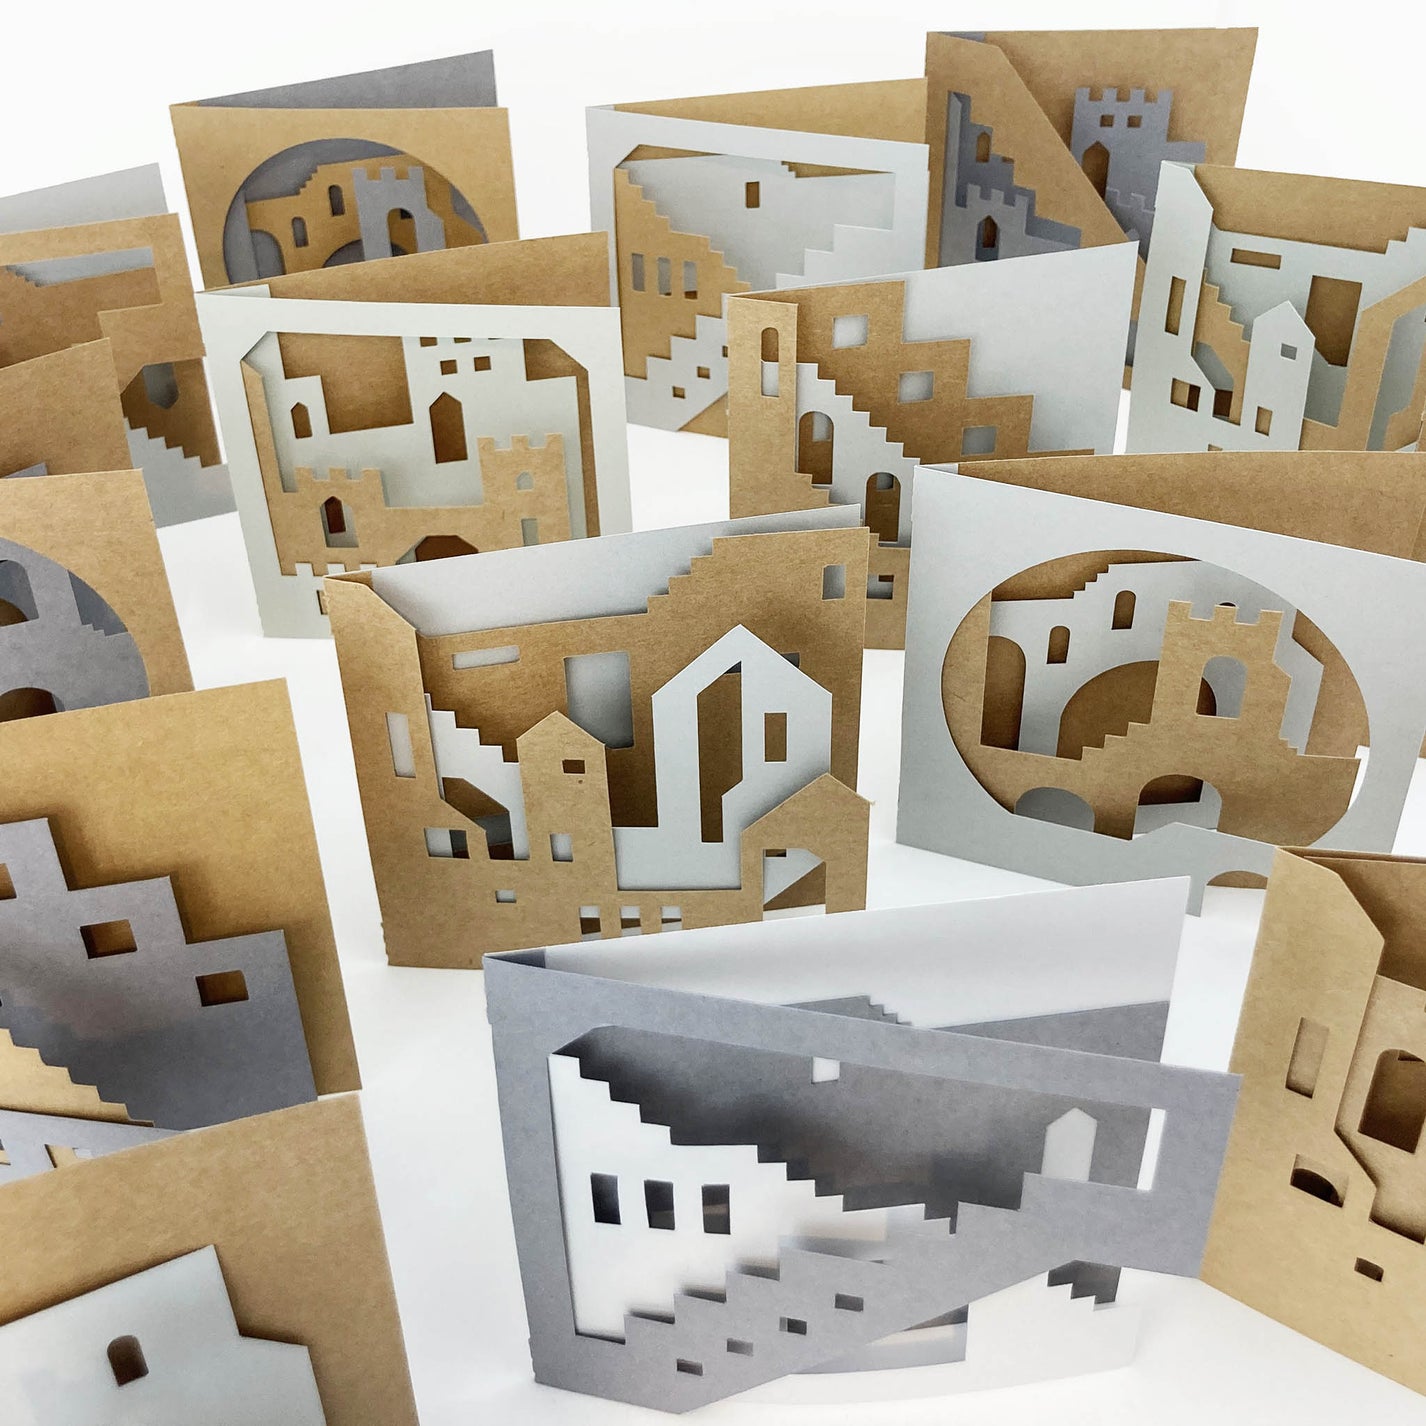
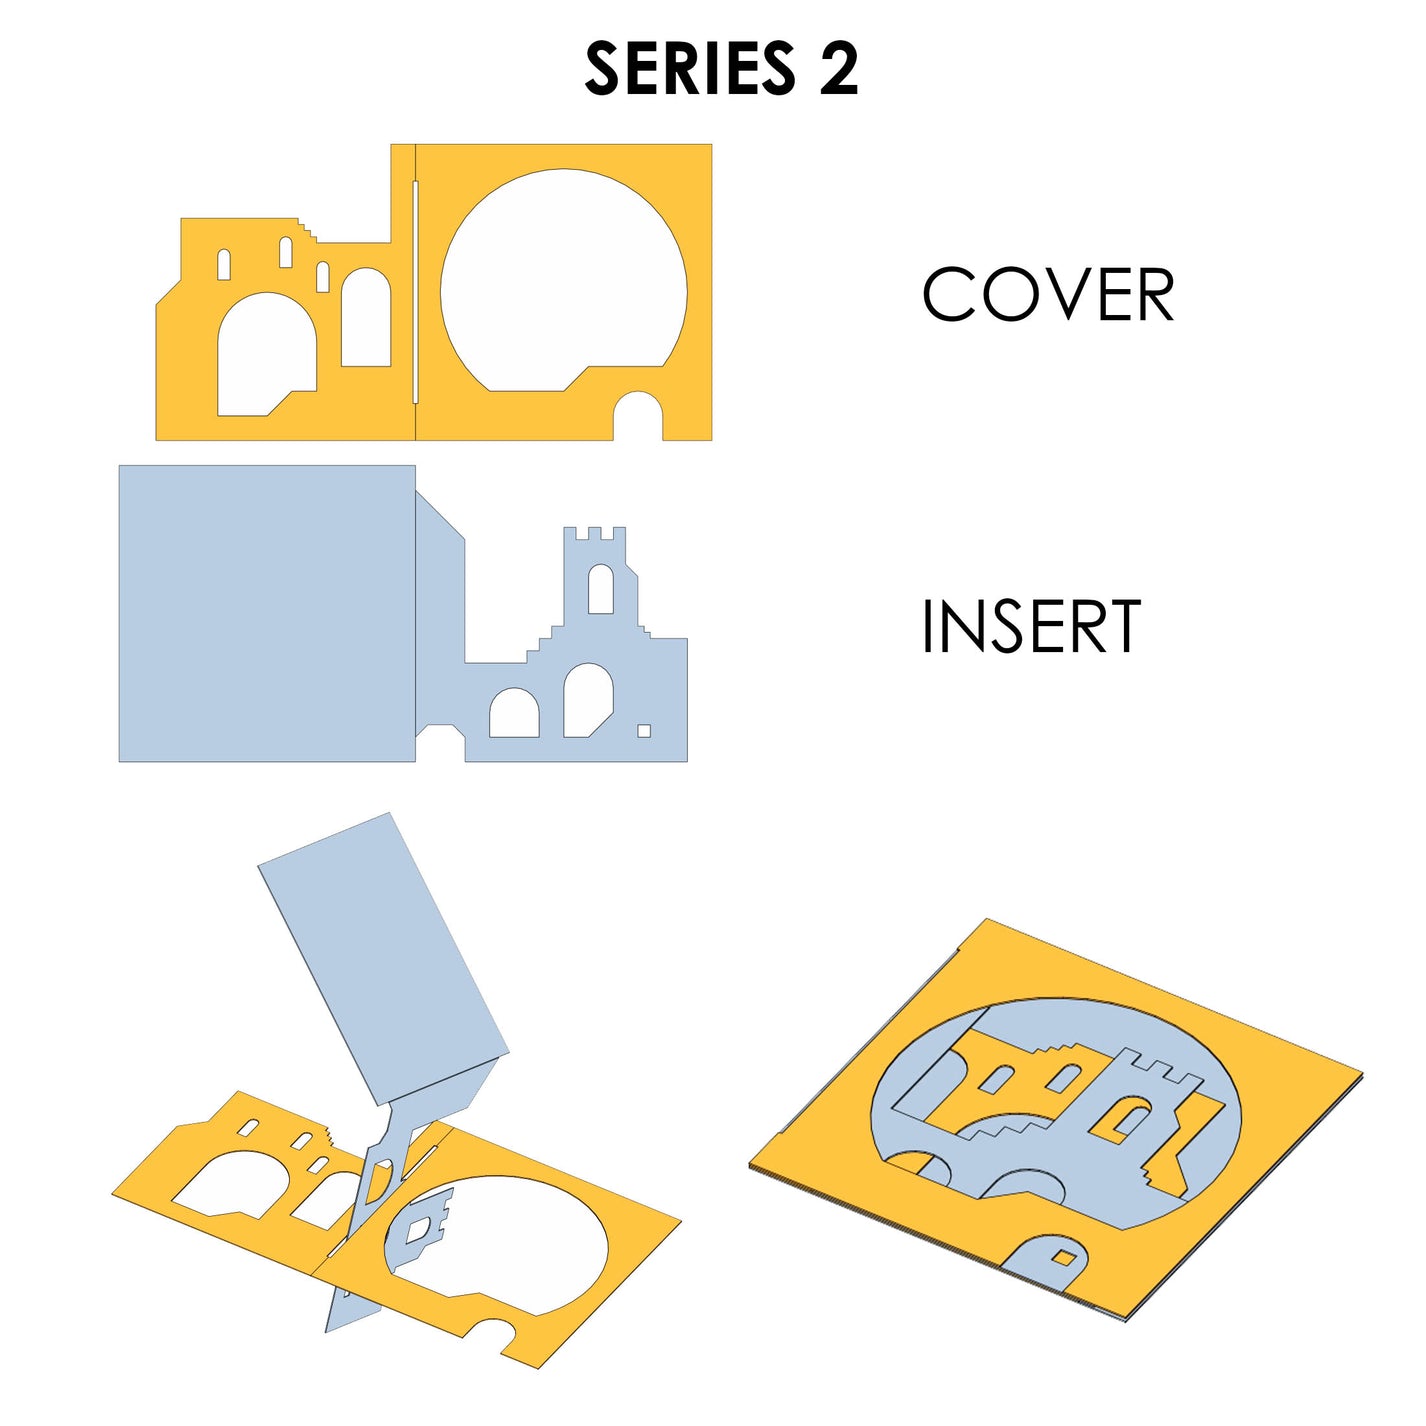
CASTLES | SERIES 2
CASTLES | SERIES 2
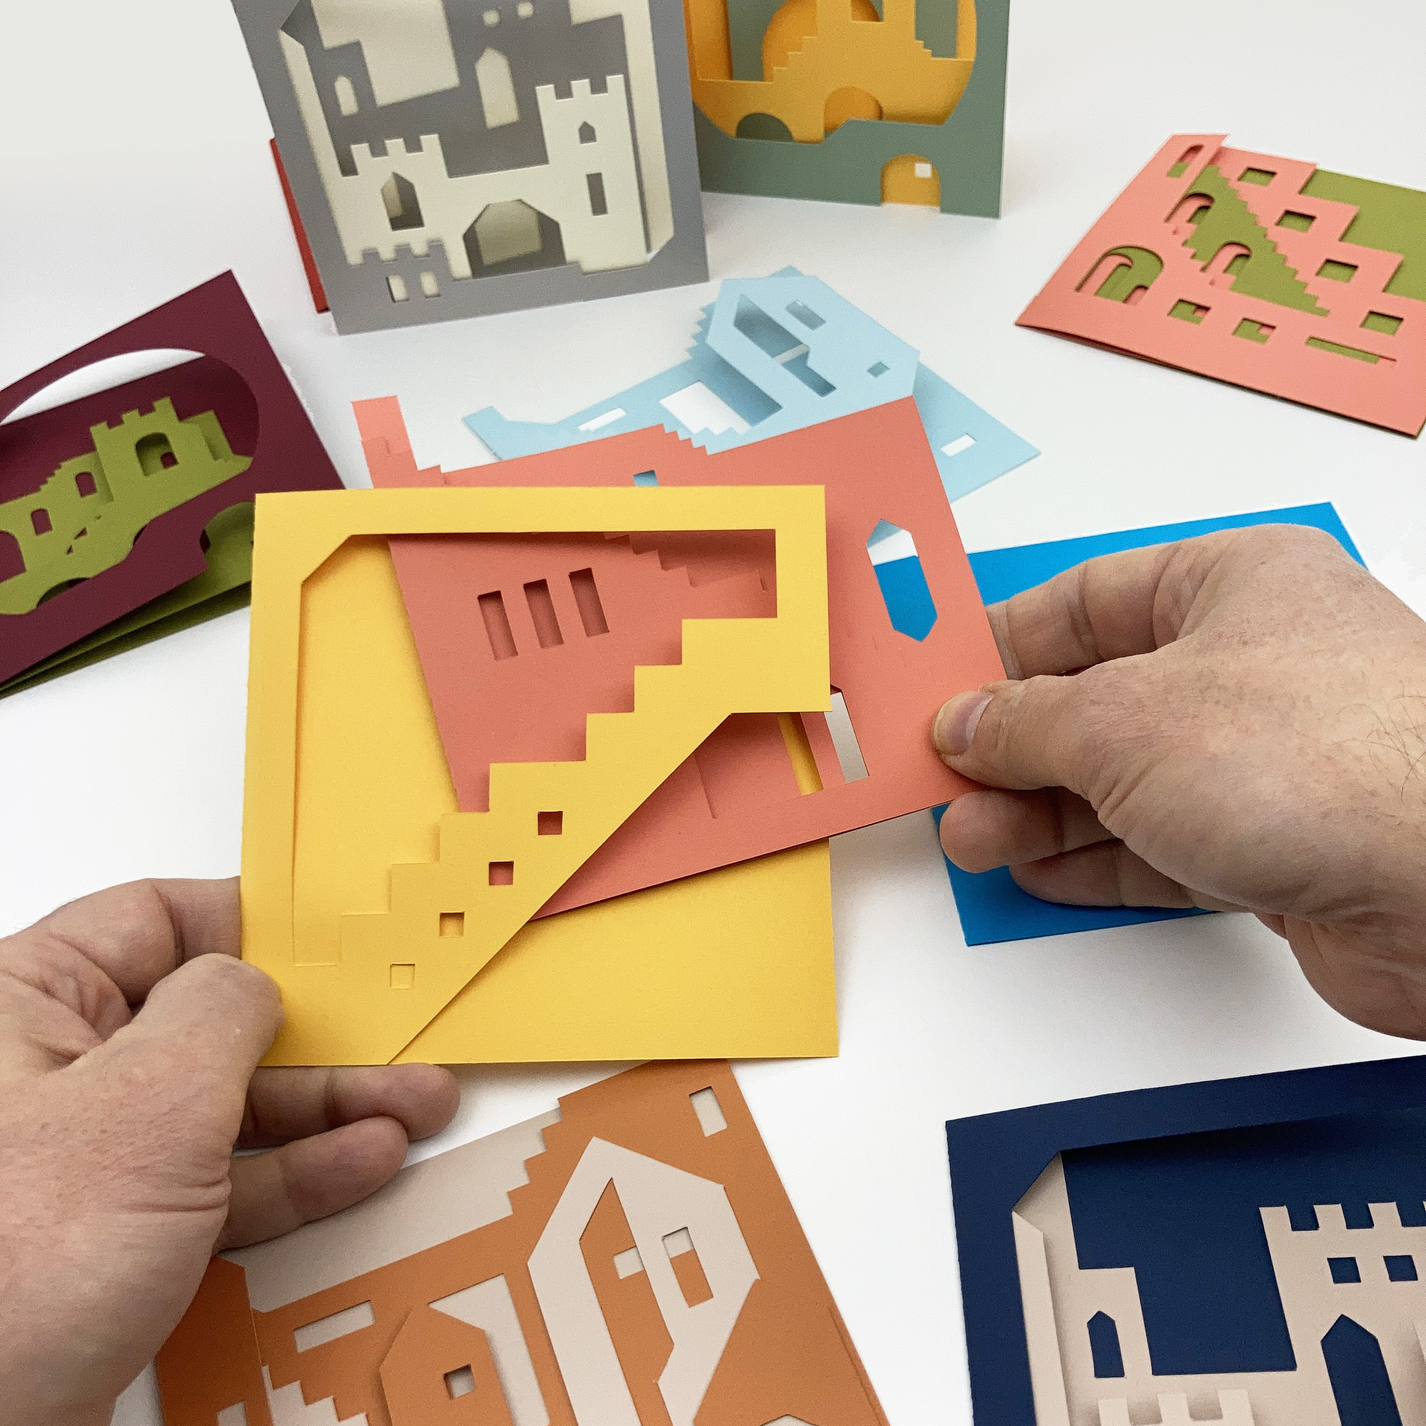
MAKE YOUR OWN CUSTOM CARDS
These cutting templates let you create your own unique farewell cards.
Each set includes 5 covers and 5 inserts—just pick a cover, choose an insert, and try out different combinations. You can be creative and play around with colors and layouts.
Right now, there are two sets to choose from:
Archways and Castles
The best part? The sets are fully compatible, so you can mix and match designs between them.
MIX & MATCH
Most designs are created in pairs—for example, the cover 140-1-S1 pairs with the insert 145-1-S1. However, all designs within the same series are compatible, allowing you to mix and match covers and inserts for unique combinations.
COMBINE SETS
You can even combine designs from different sets. Some combinations work better than others, so feel free to experiment and let your creativity shine!
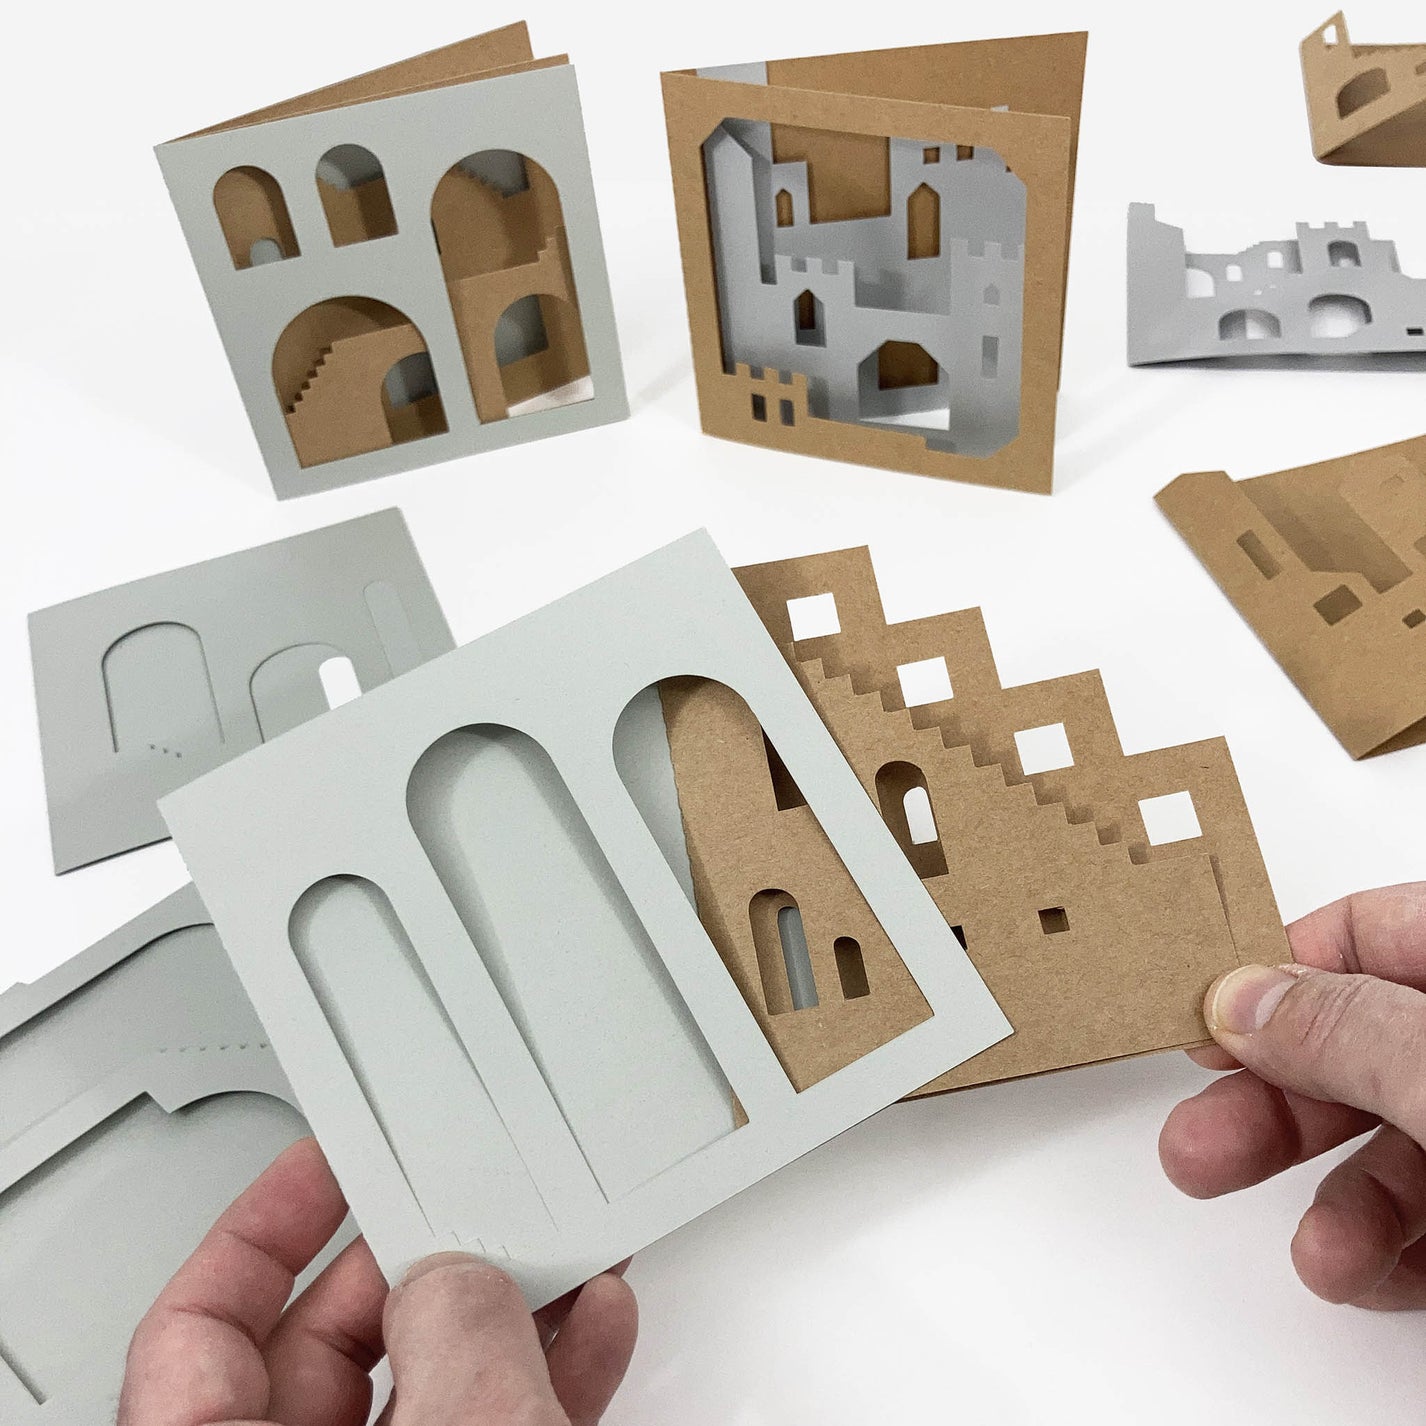
SERIES 1 & SERIES 2
All card collections are offered in two versions: Series 1 and Series 2.
The designs are nearly identical, with small changes to align with their unique assembly techniques.
Detailed assembly instructions for both series can be found in the step-by-step guides which are provided with each set.
SERIES 1
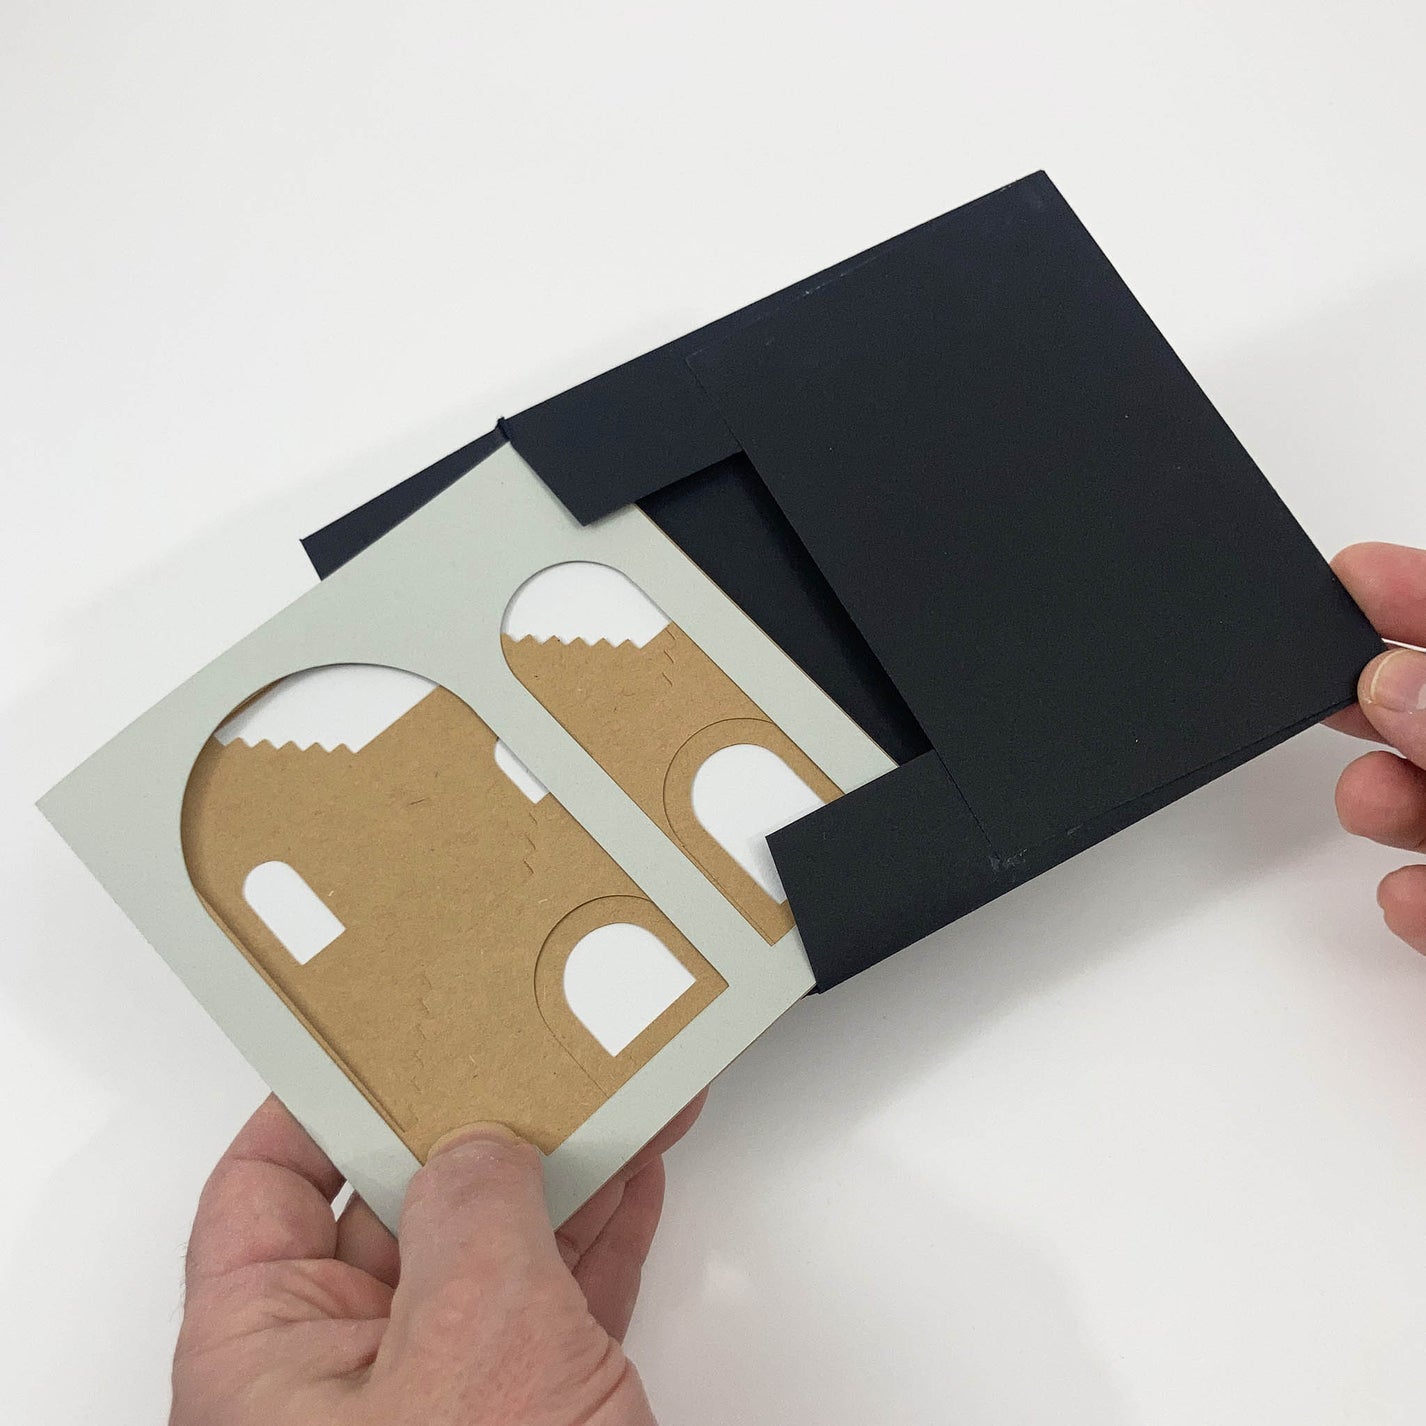
The assembly of this series is the most straight-forward: simply choose a cover and an insert, then combine them.
Personally, I like that the insert can be removed. For example, if you're giving different cards to a group of people, they can swap inserts for fun. However, if you prefer a fixed result, you can apply a small amount of glue near the fold on the front side only.
Note that the cover is slightly longer than the insert to accommodate the thickness of the paper, while the height remains the same.
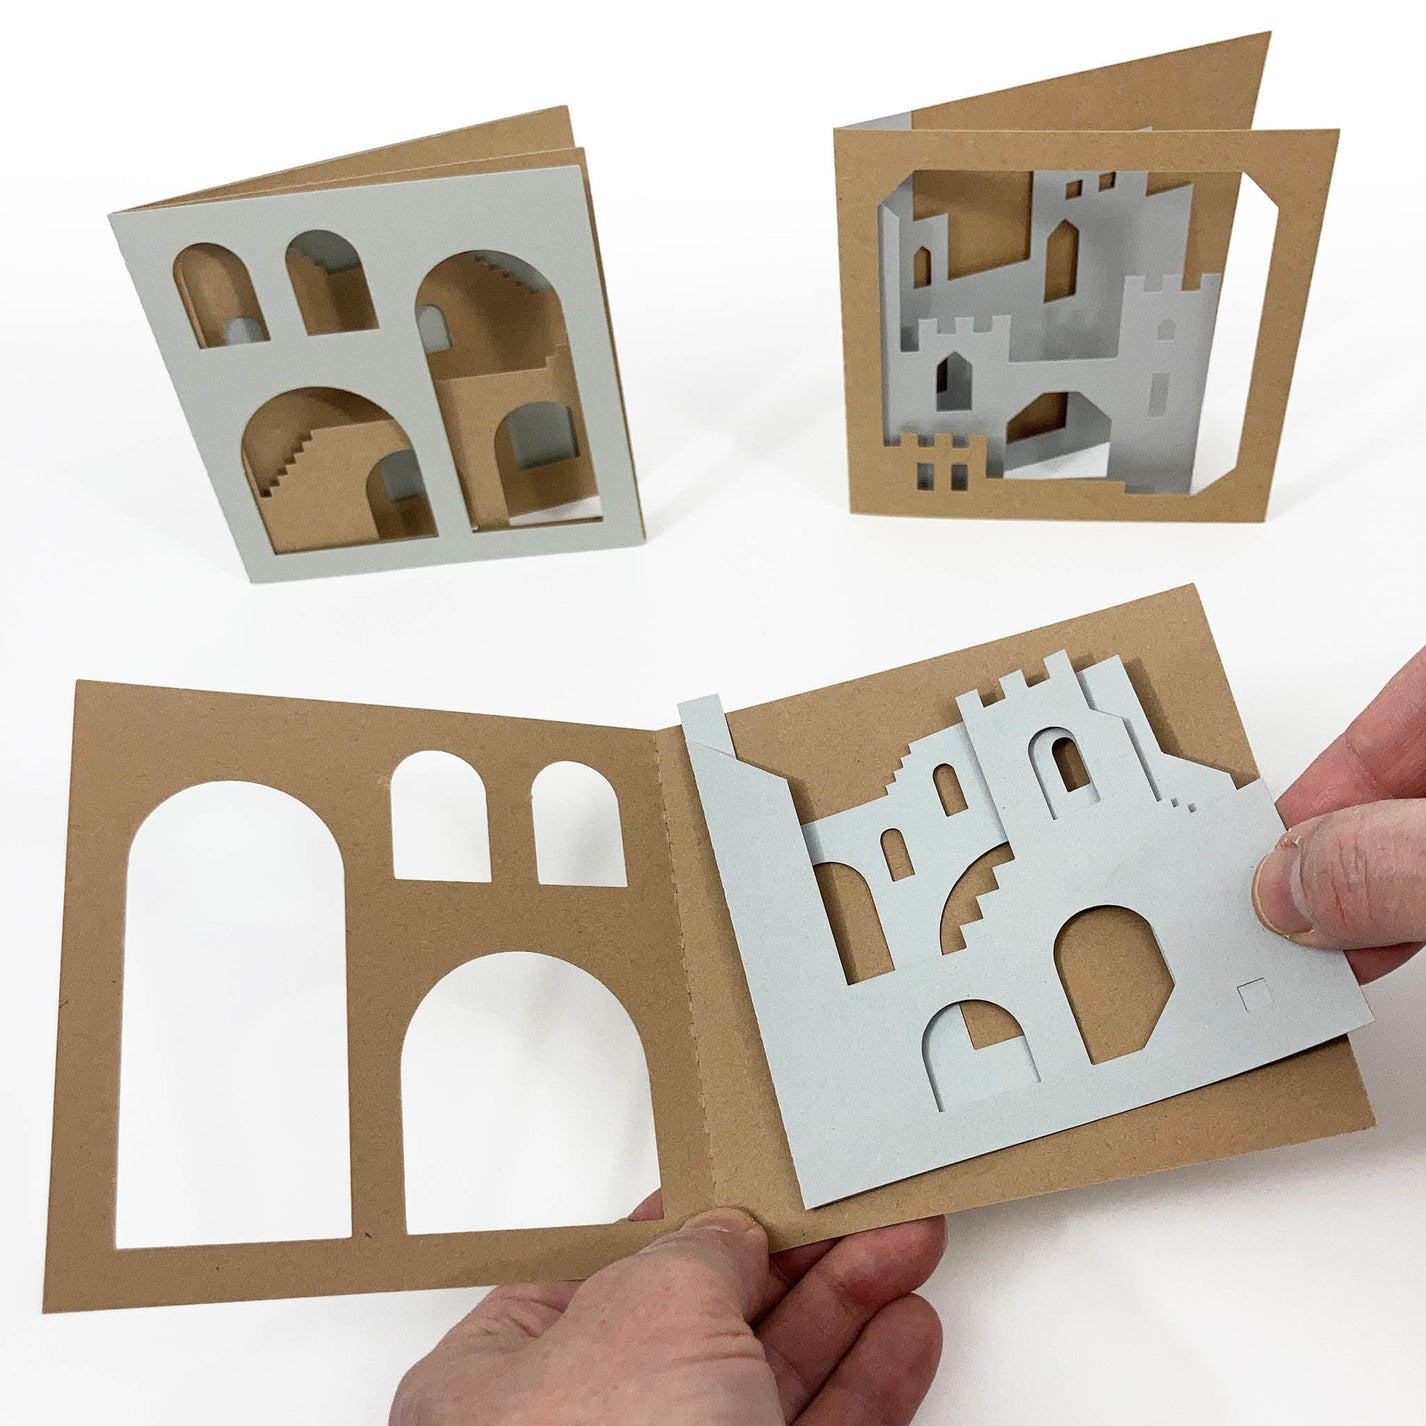
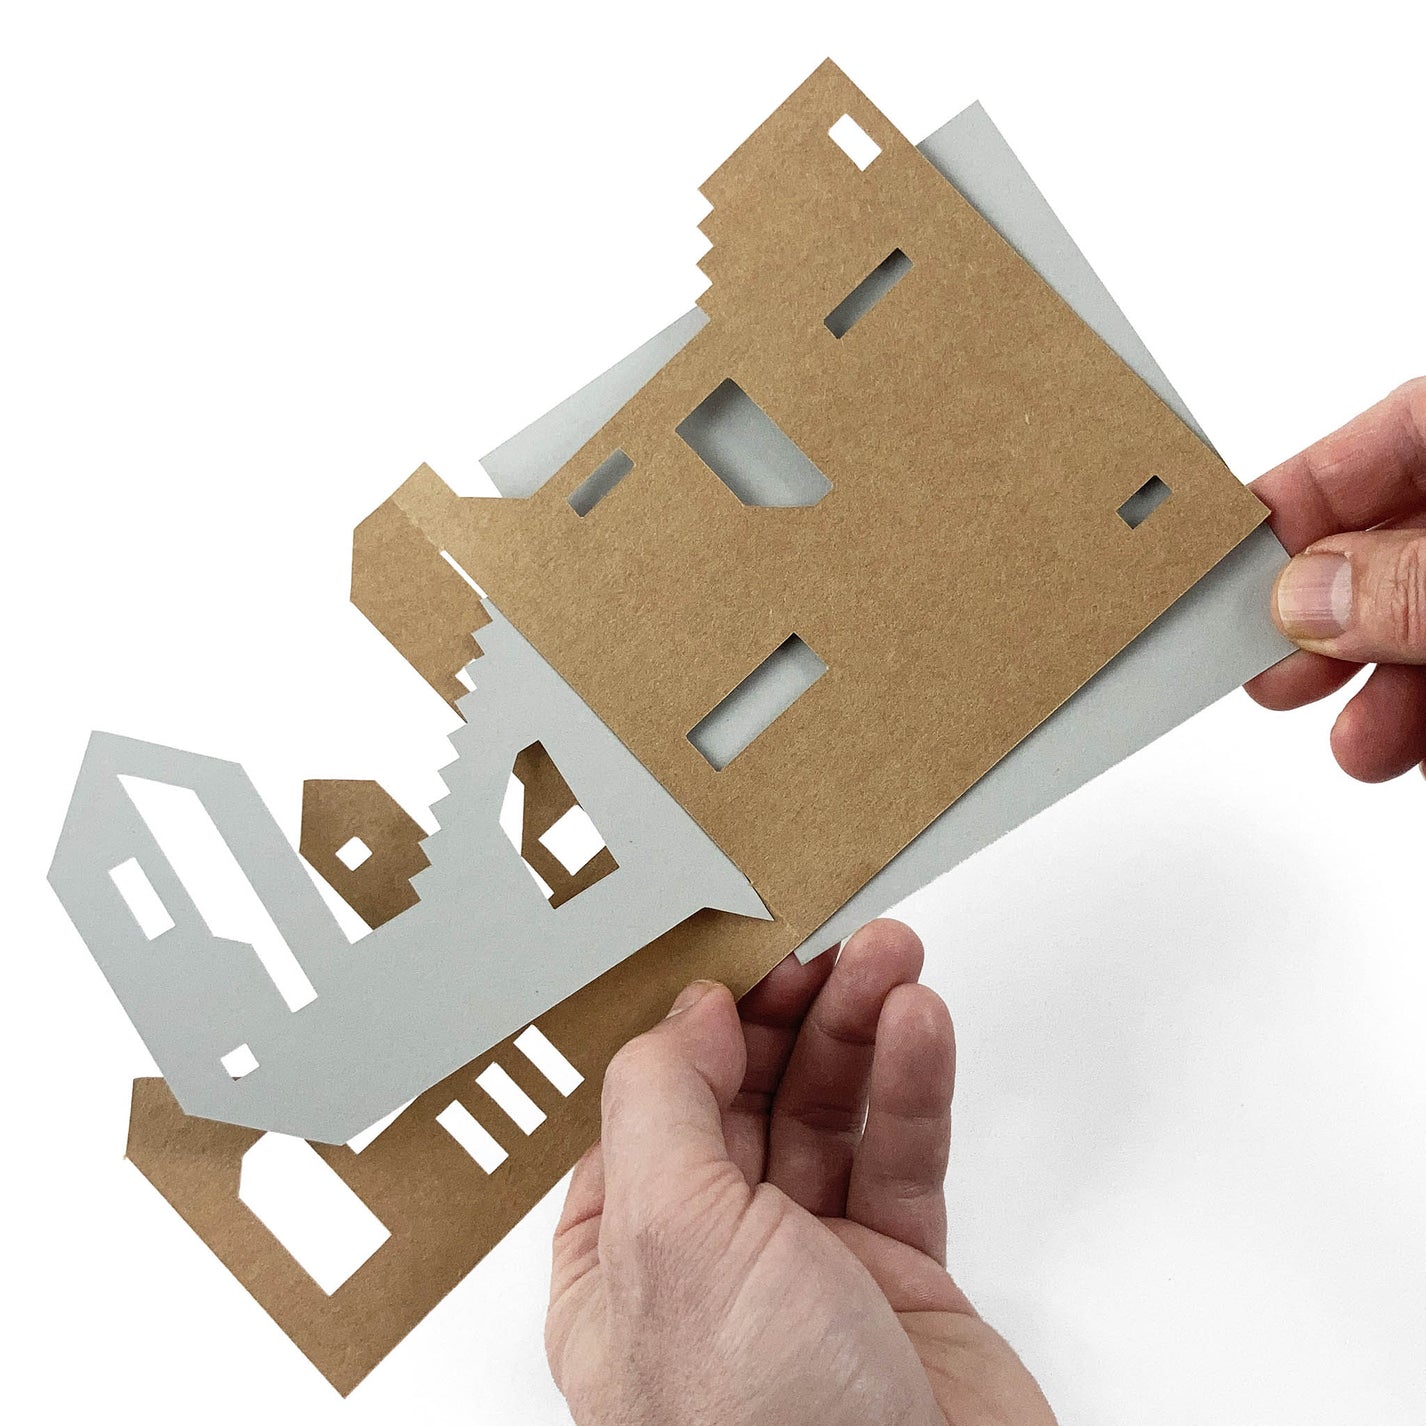
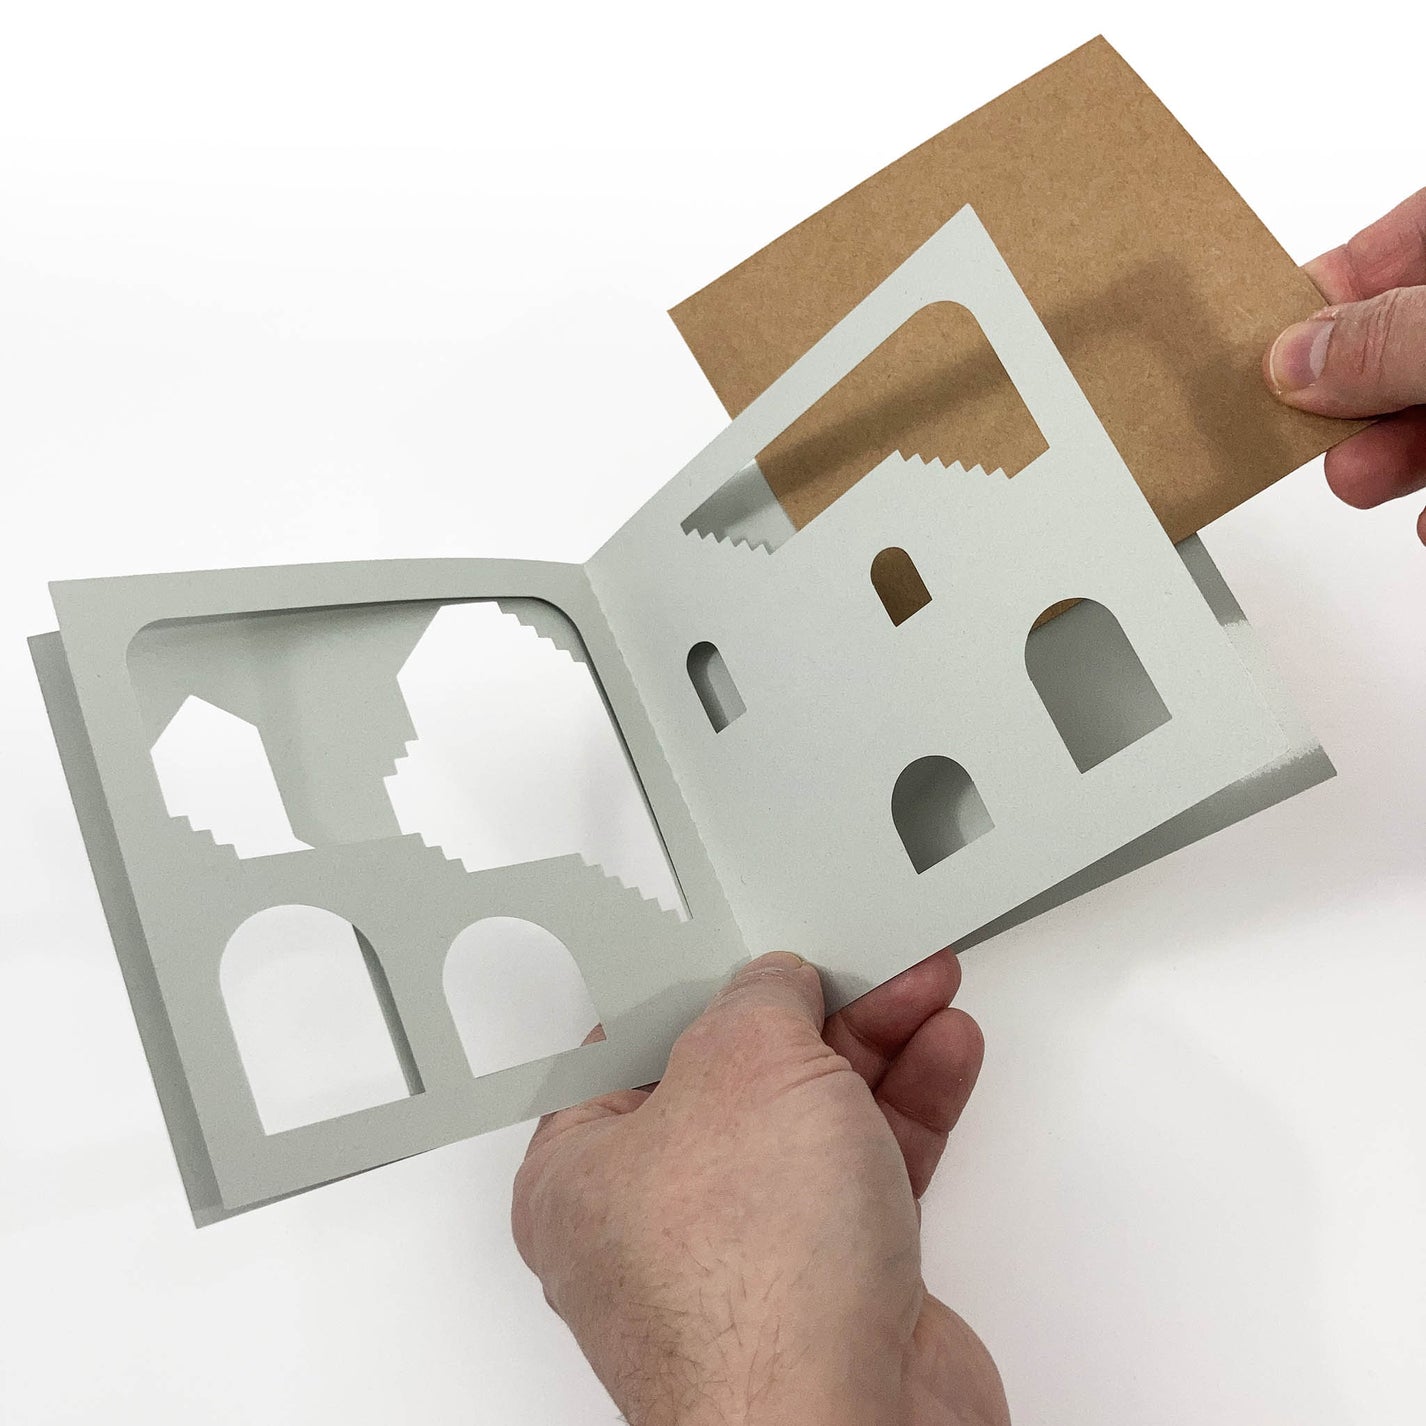
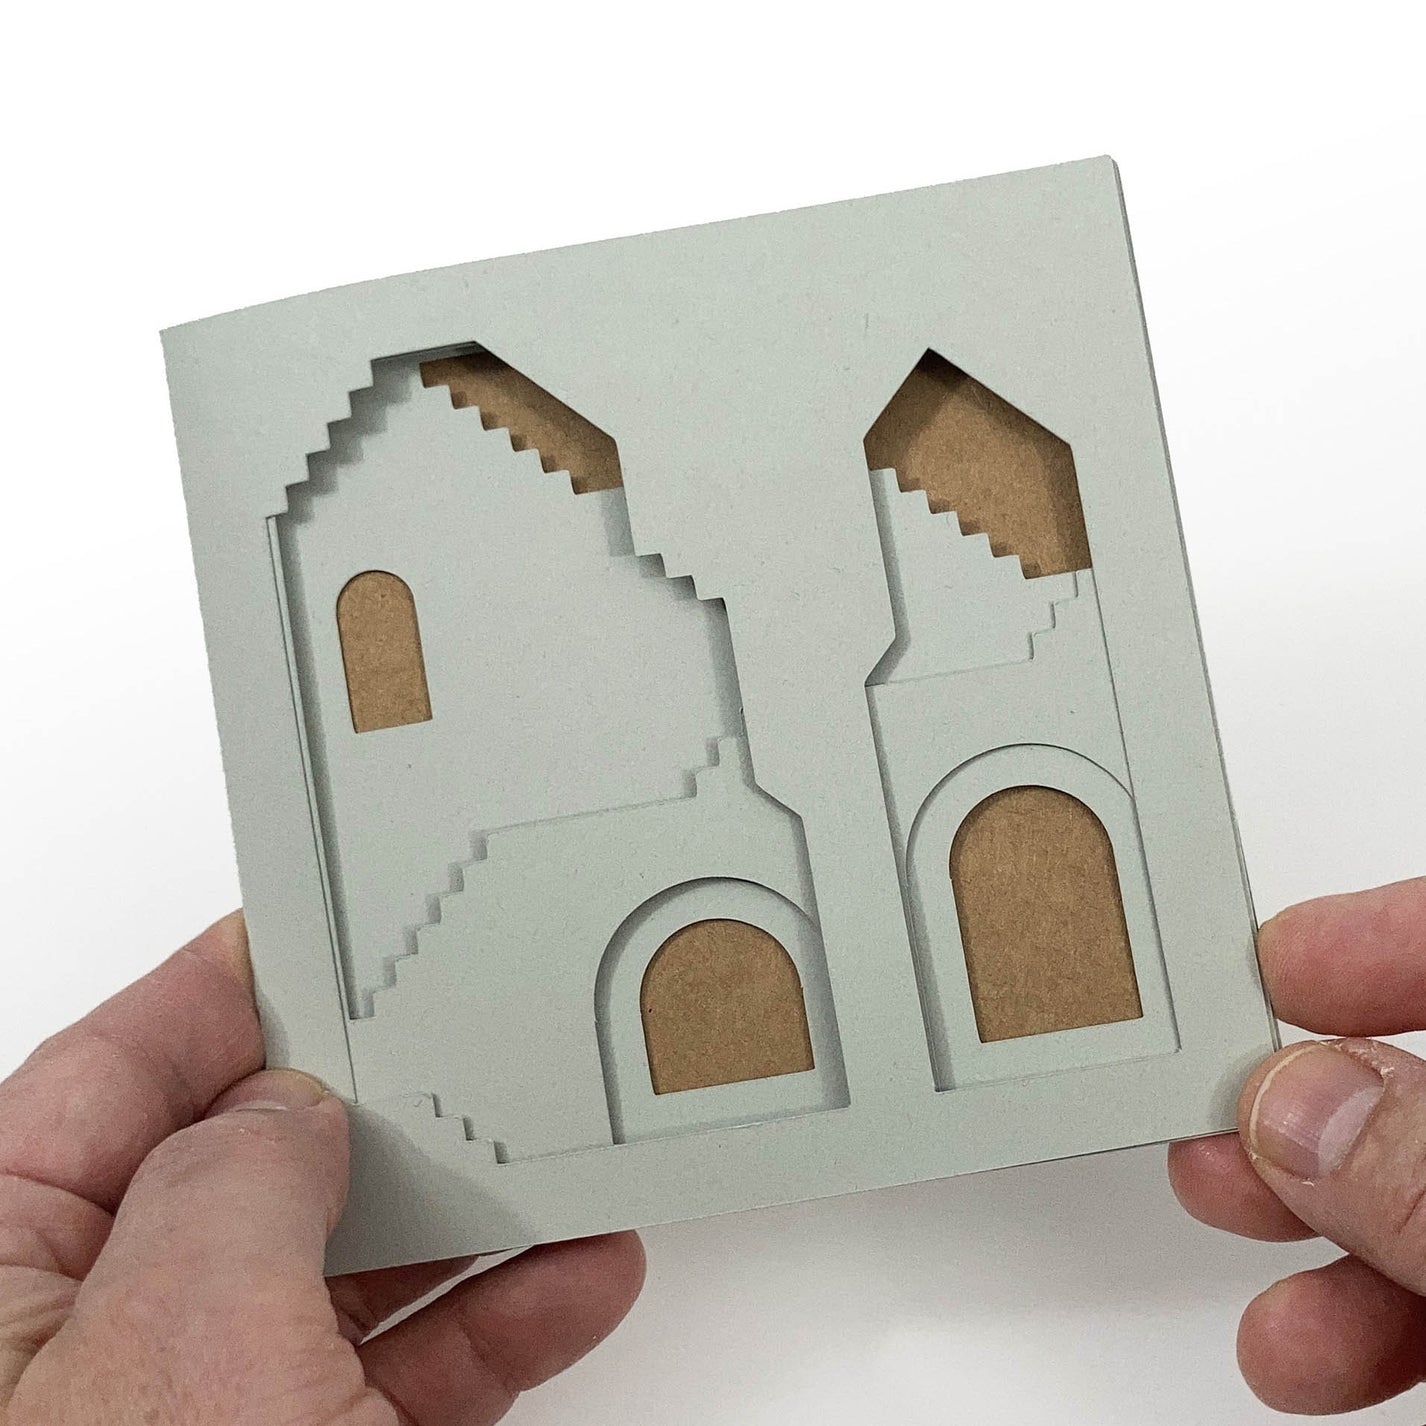
SERIES 2
In this series, the concept is the same: pairing a cover with an insert. However, the assembly is slightly different. The cover features a slot into which the insert is slid. Notches hold the pieces together, eliminating the need for glue.
BLANK INSERTS
You sure have noticed that the cards have openings! To keep the text inside discreet, you can write your message on a separate piece of card. Templates labeled "blank inserts" are available for you to use. This way, the card can also be kept intact if the recipient wants to save it as a decorative piece.
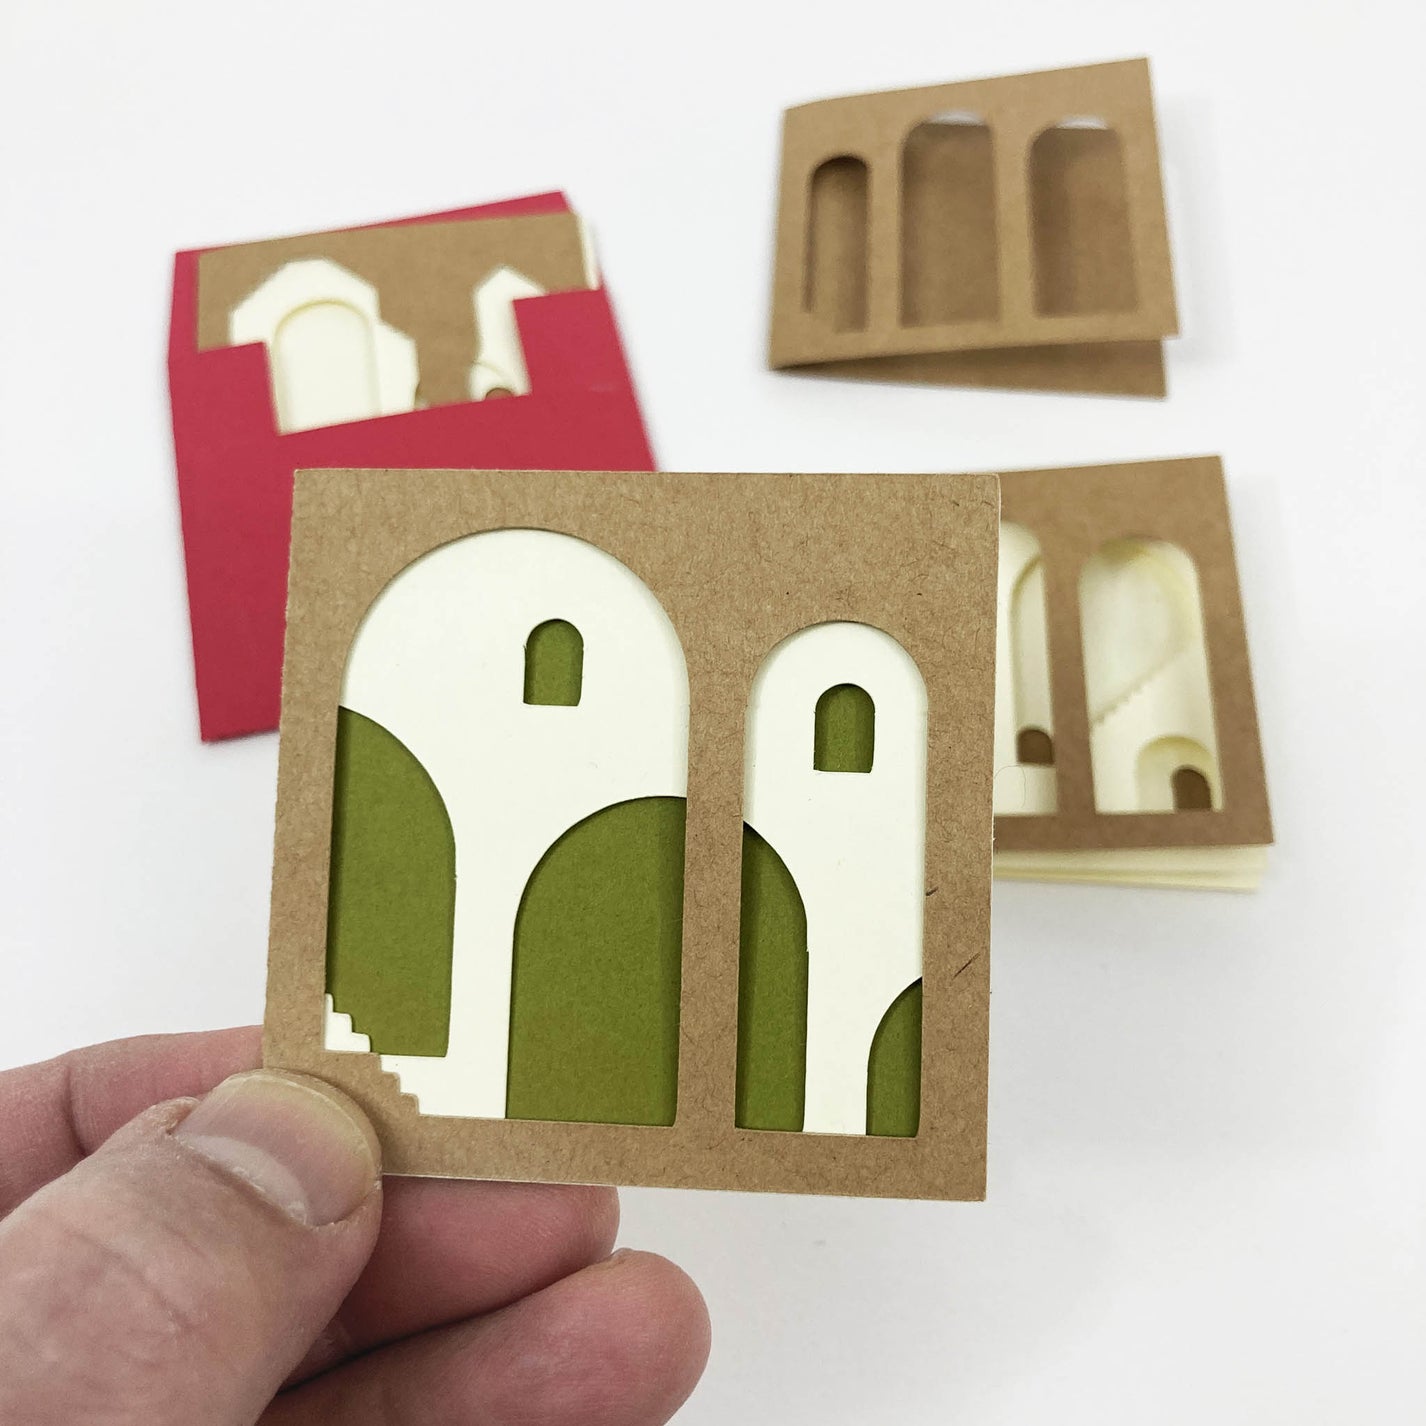
SCALE THEM
You can choose to make cards different sizes. As an example, I made these miniature 2”x2” Christmas cards to offer along small chocolate boxes.
If you wish to make cards for standard 5-inch square envelopes, please follow these instructions:
PDF: When printing, ensure that the scale is set to 100%.
DXF and SVG: The files are arranged vertically. Make sure
the horizontal dimension of each design is the same (12 cm).
You can use standard easy to find 5-inch square envelopes. However, if you'd prefer to make your own, I've included a template for you to use. Set “H” dim to 19 cm on import.
SIMPLIFIED VERSION
If you’re cutting the cards by hand, some of the small details may be challenging to do. For this reason, in the PDF folder, I’ve added a simplified version where the stairs are replaced with diagonal lines.
I’ve also provided two versions of each design:
-One with black lines
- One with gray lines
The gray lines will be less visible if you slightly overcut them. In addition, where possible, the contour lines have been replaced by trim marks
MACHINE CUTTING
If you enjoy this type of project and make a lot of them, I strongly recommend using a cutting machine like Silhouette or Cricut blade cutters. If you're not familiar with them, a quick Google search will provide more information.
When importing the files into your editing or production software, make sure to set the same "H" dimension for each design. To make the cards compatible with standard 5-inch square envelopes, set this dimension to 12 cm.
Featured products