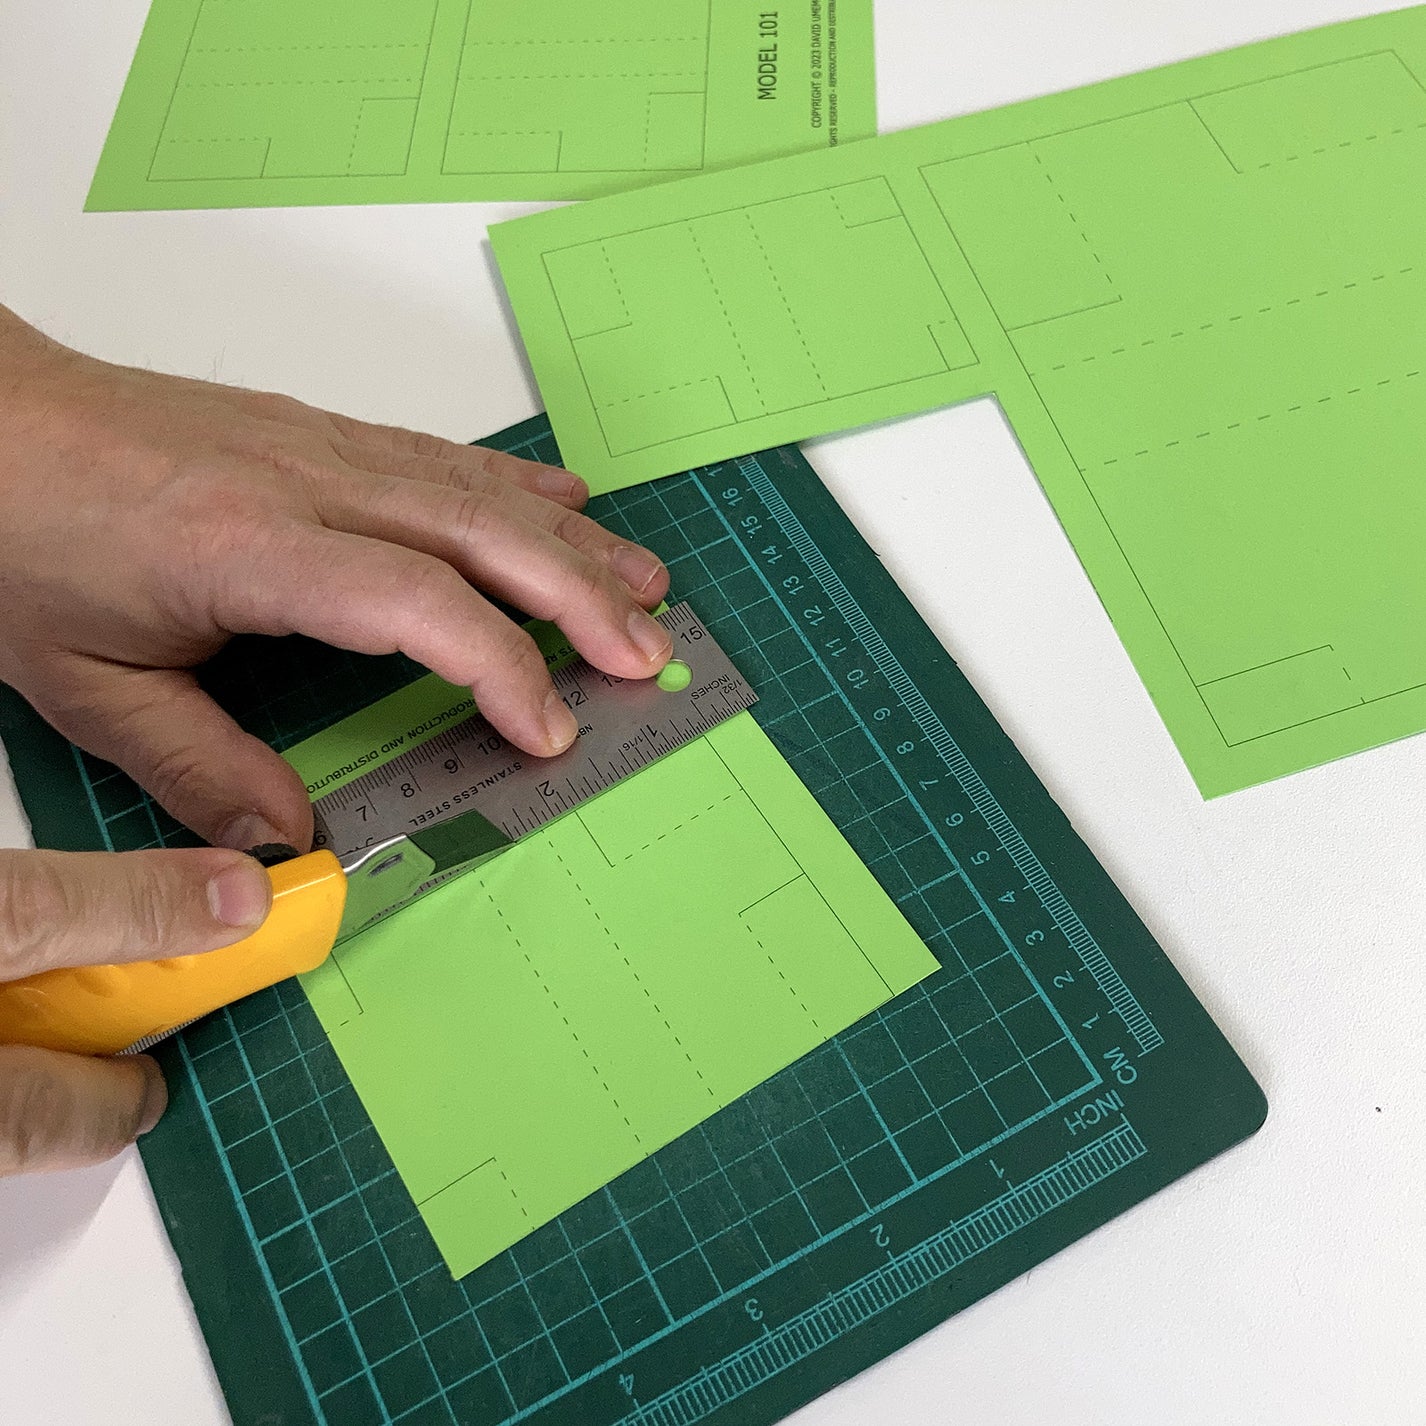
CUTTING TIPS
USING THE PDFs
Simply print the PDFs on your home printer and cut them out using a precision knife. For some projects, I’ve included two versions of the templates:
Light Version: The lines are less visible after cutting, ideal for clean-looking results.
Dark Version: Provides better contrast, perfect for dark-colored paper or if you don’t mind visible lines.
When printing on heavy cardstock, ensure you load the paper from the rear of your printer to avoid tears and jams.
USING THE VECTOR FILES
DXF
A very basic universal vector format, recommended for Silhouette machine users. It works with the basic version of the software, which does not accept SVG files. Since Silhouette handles curves poorly in DXF files, these have been flattened and converted into segments to prevent distortions during import.
SVG
Also a universal vector format, it can be used with Cricut and upgraded versions of Silhouette Studio software. They contain more layers than the DXF but depending on the project, some layers may not be present.
Here is a list of layers with their names and colors:
cut: red
Cutting lines
fold-cut: cyan
Folding lines made up of individual segments. These can be cut with a blade and do not require additional tools like a scoring wheel or stylus. This allows you to use the secondary carriage of your machine for a pen if you want to cut and draw. This is recommended when using thick cardboard.
fold-score: green
Continuous folding lines. These can be used with tools like a stylus or scoring wheel.
draw: magenta
Drawing lines, which can be traced using a pen in your machine's secondary carriage.
Unfortunately, layer names and colors are often lost when importing files into cutting software, but the order should remain intact.
Make sure your settings are set to metric when importing the files