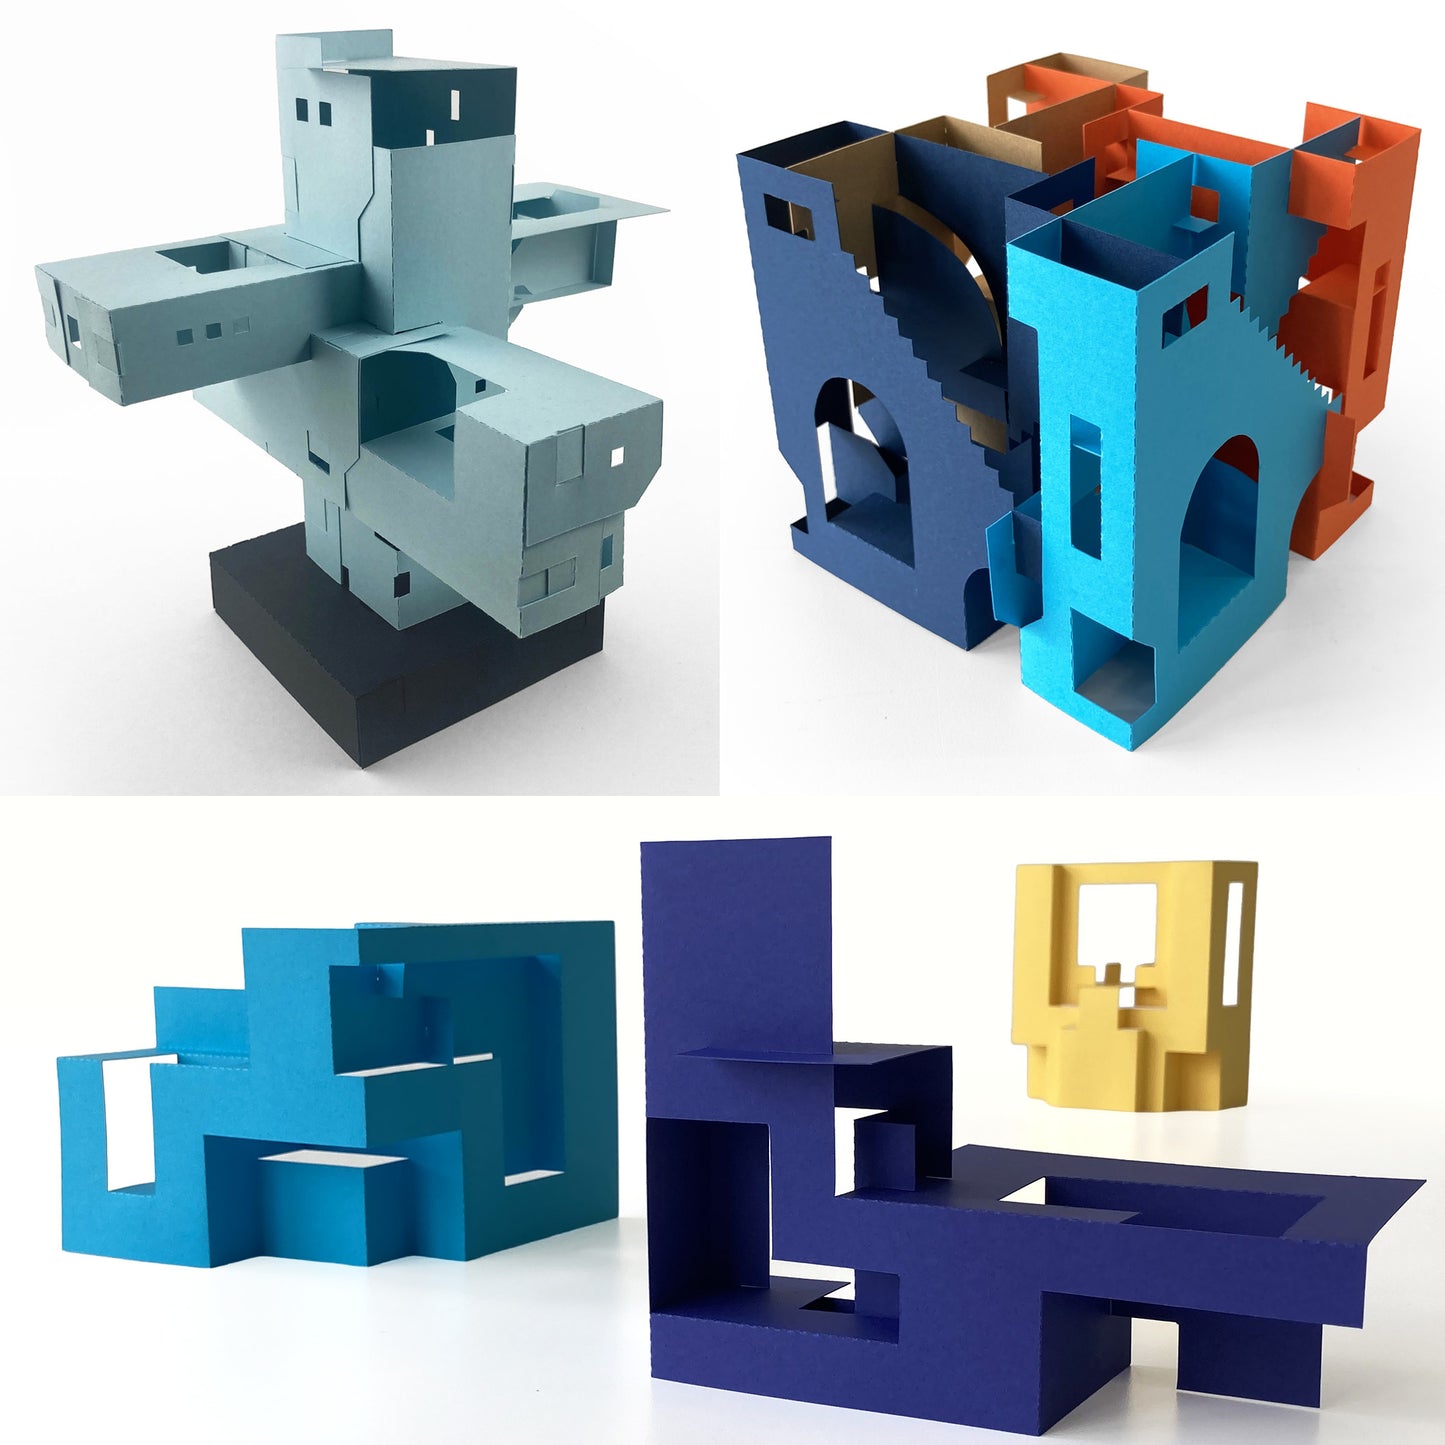
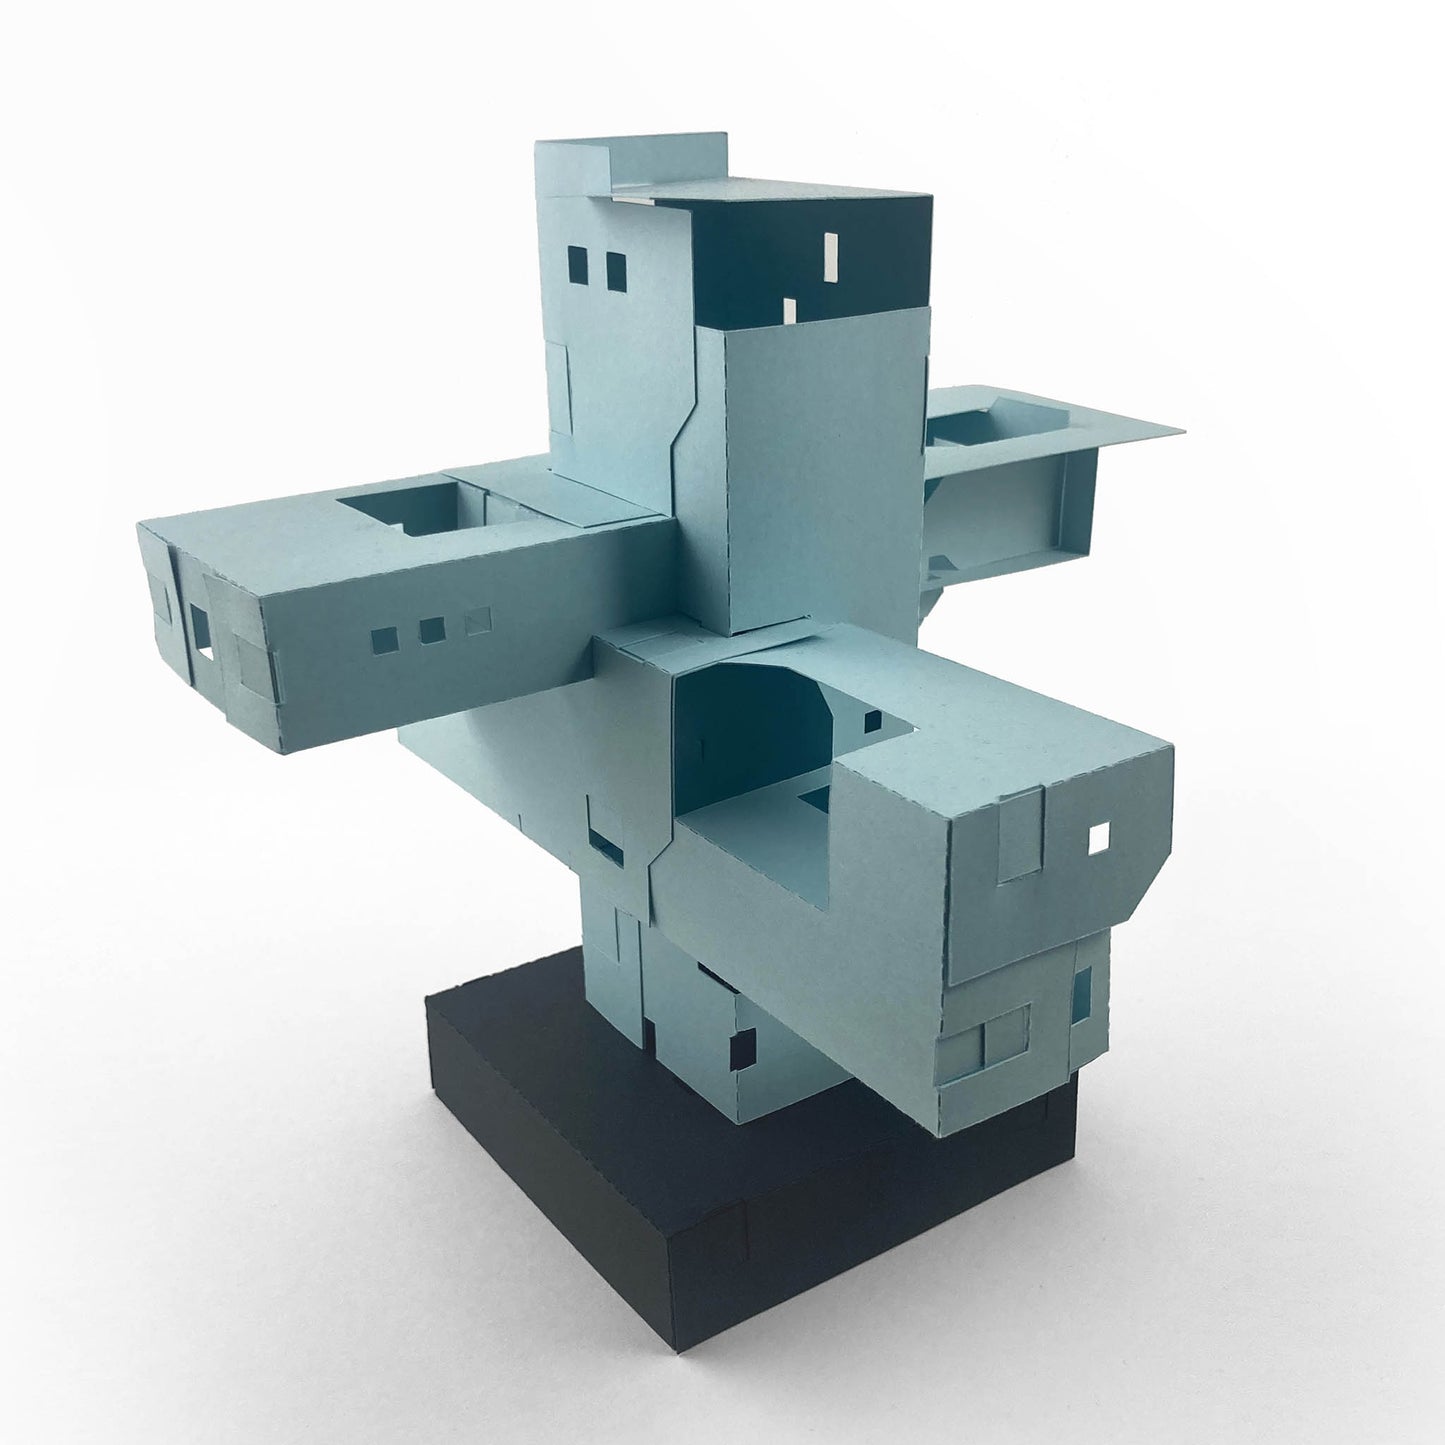
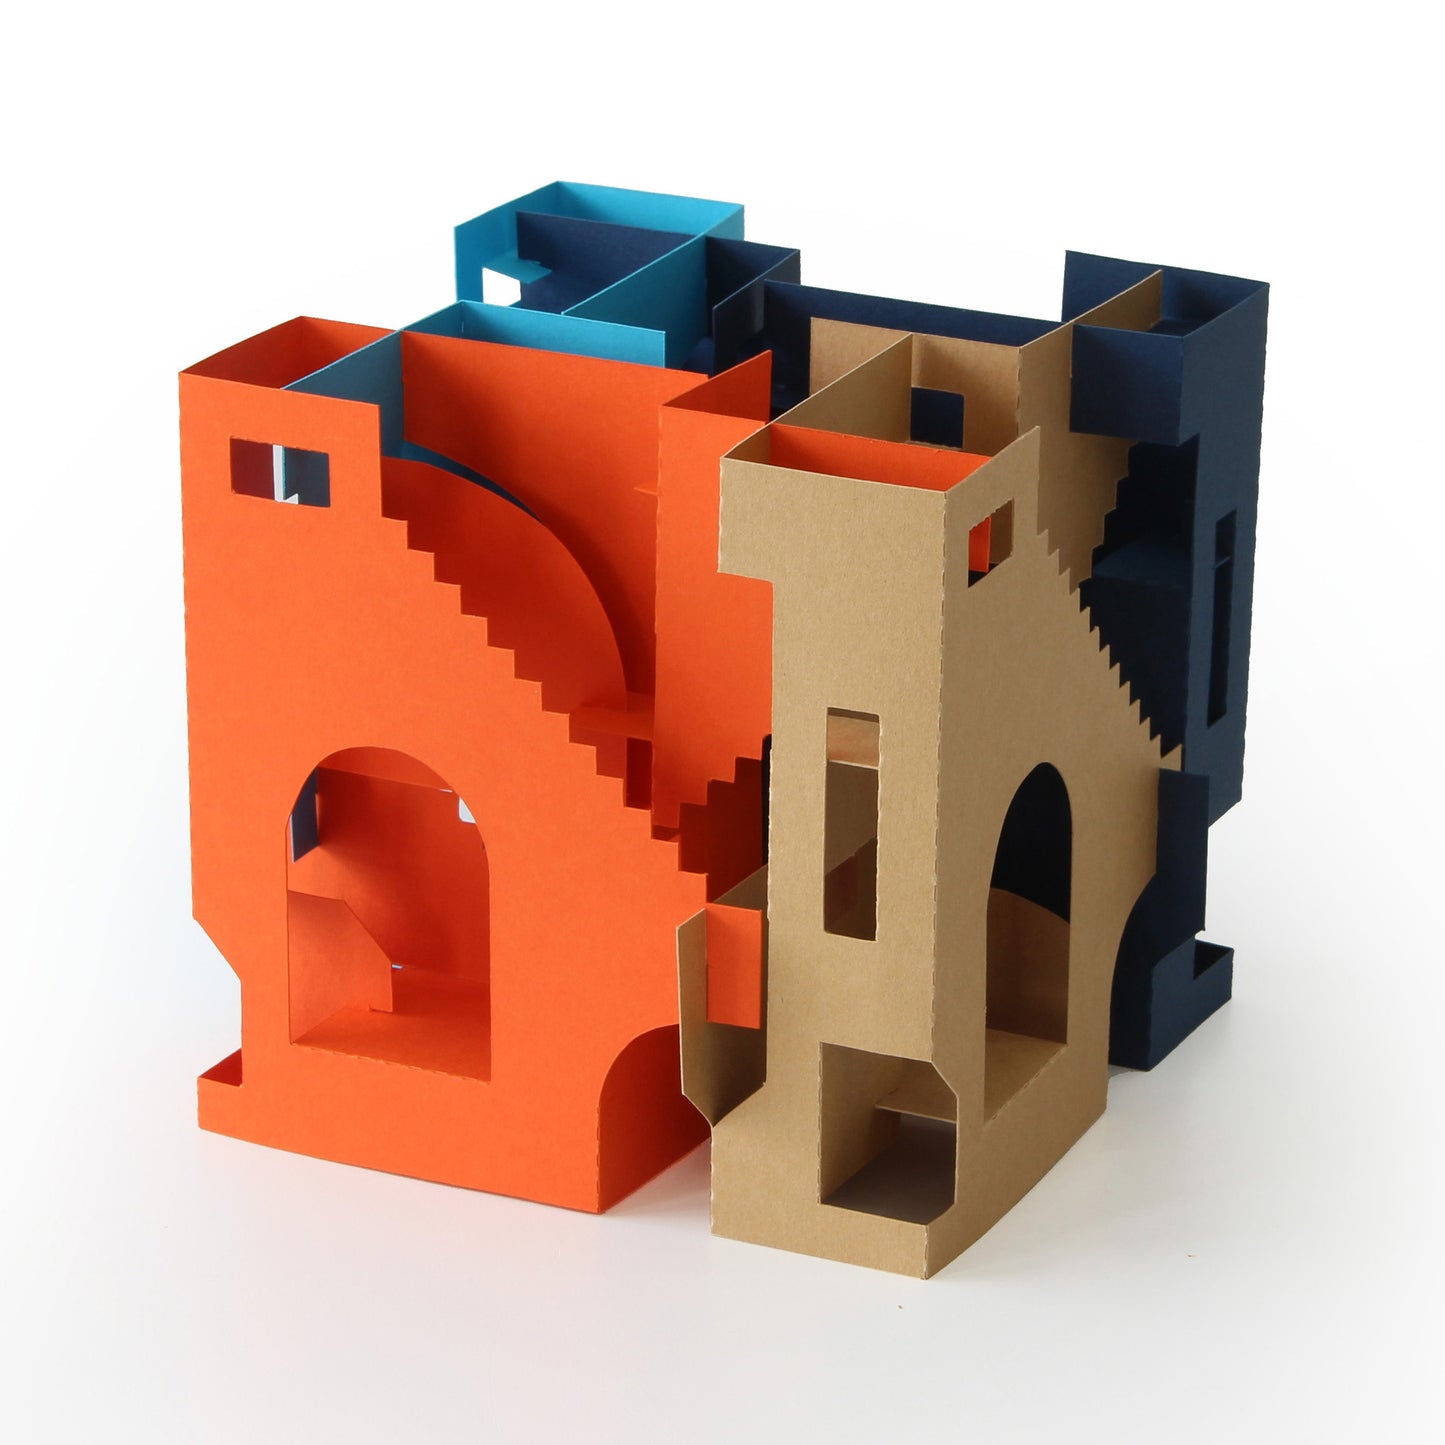
Settlement
One of a Kind
This is one of the pieces I feel closest to. It’s also the one that most directly reflects how I would approach a concrete sculpture.
I treated it less like a quick paper study and more like a standalone piece, something developed over time rather than figured out in one go. As a result, the build is longer and a bit more demanding.

Concept and Structure
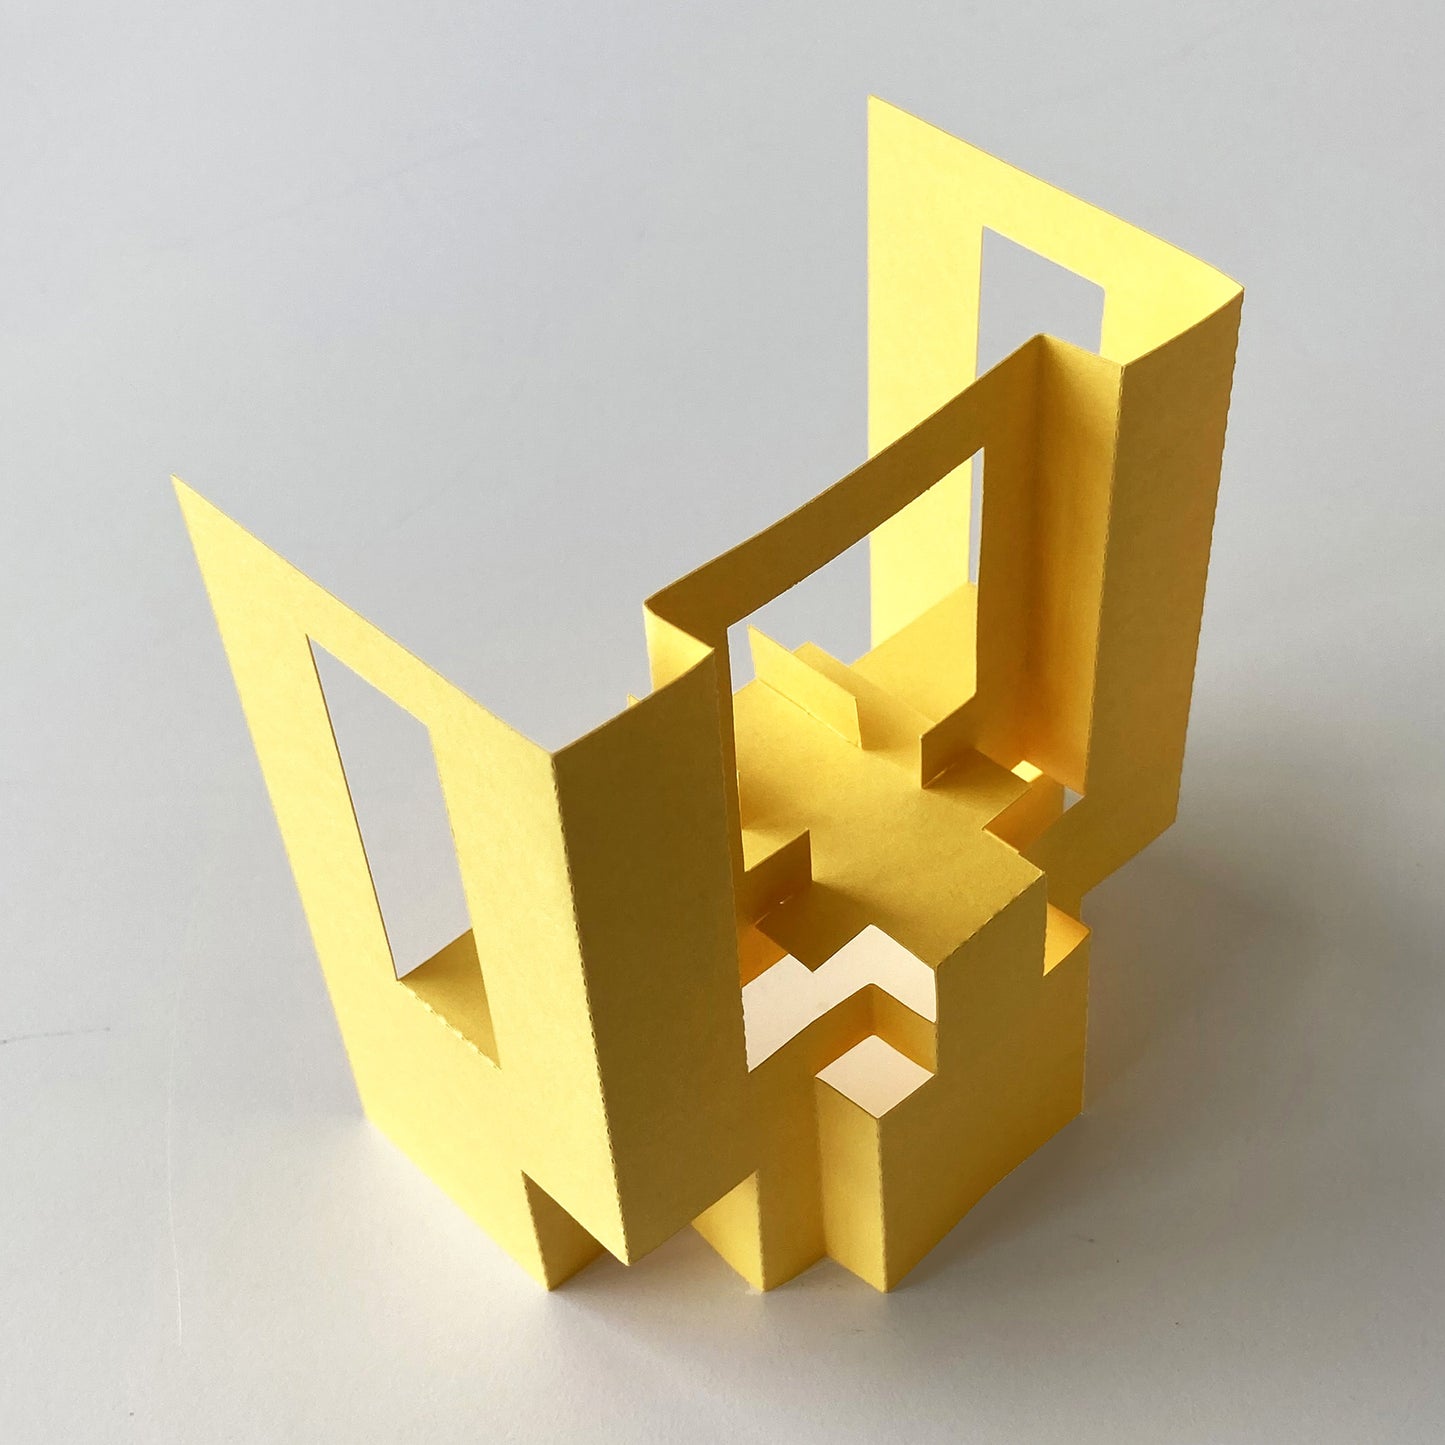
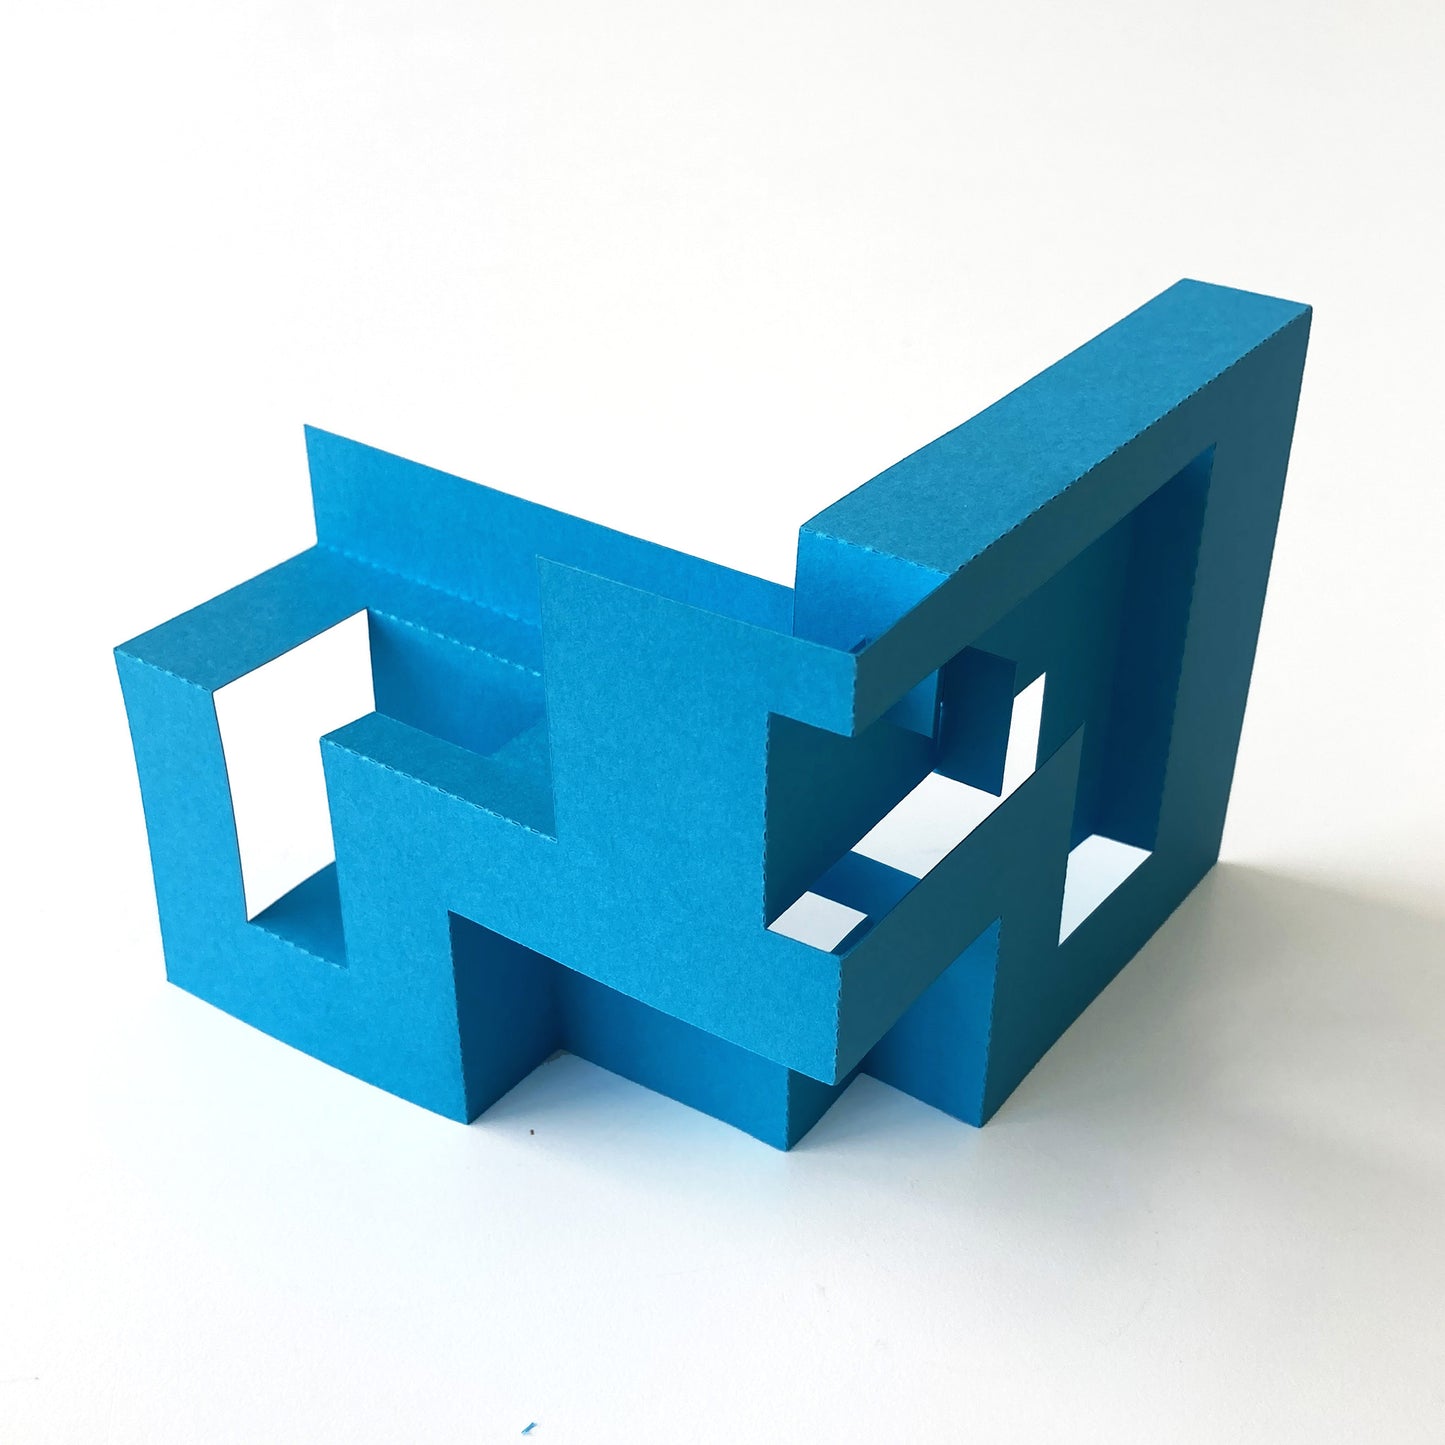
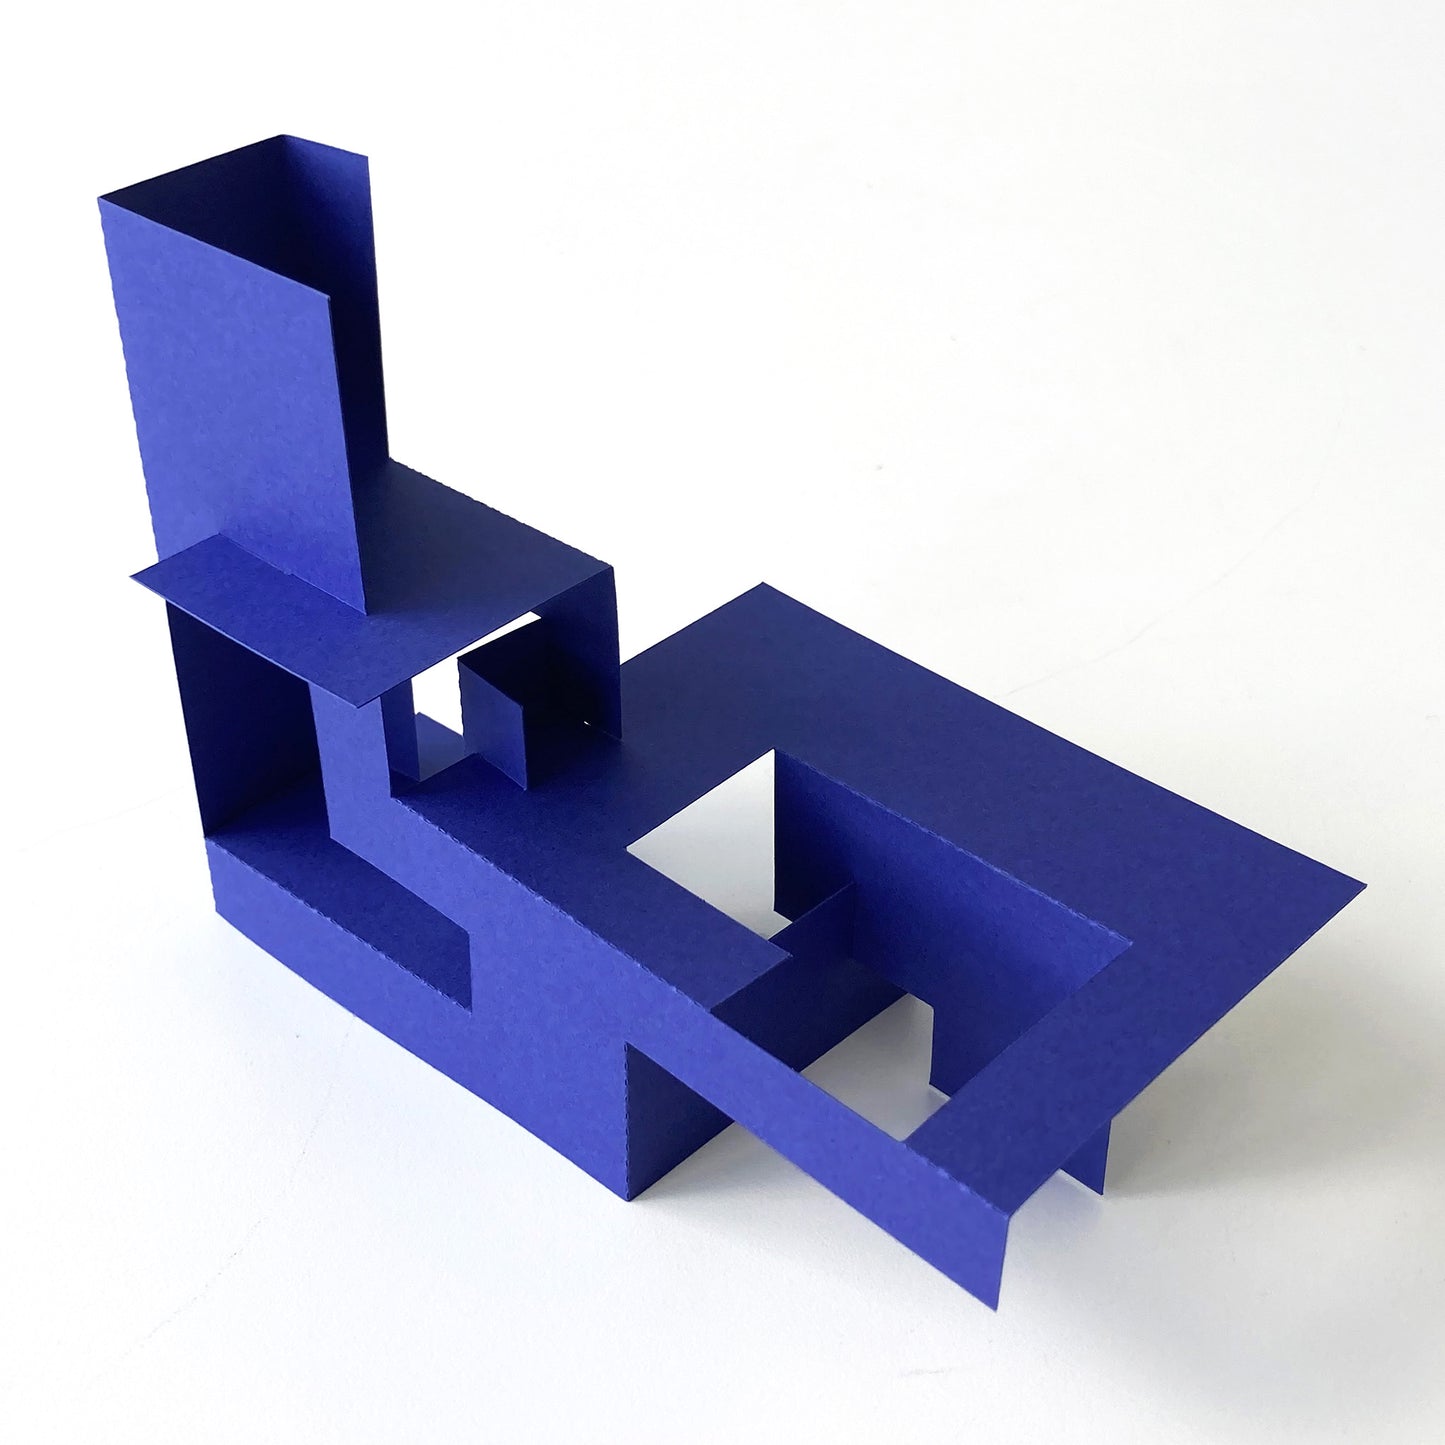
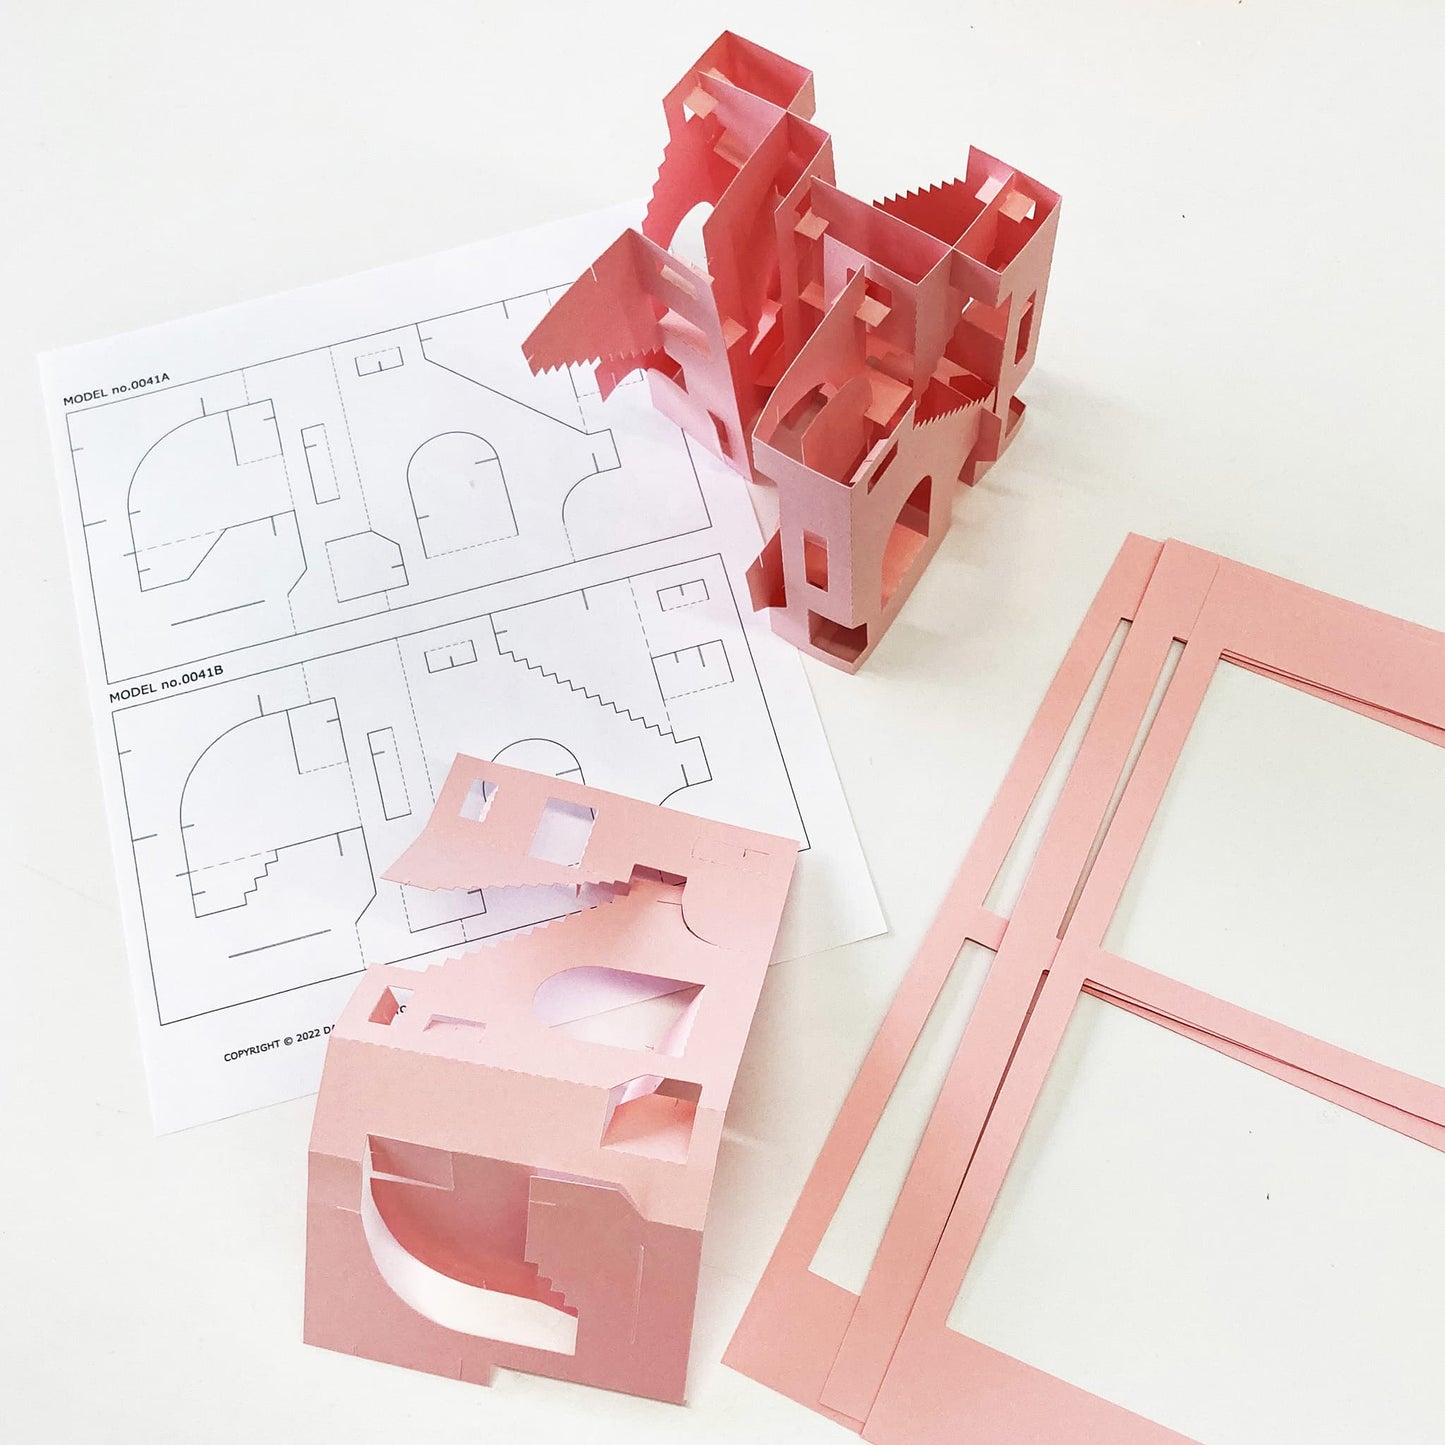
Conceptually, it is made of three rectangular prisms nested within one another. It is mounted on a base, which is optional and can be omitted.

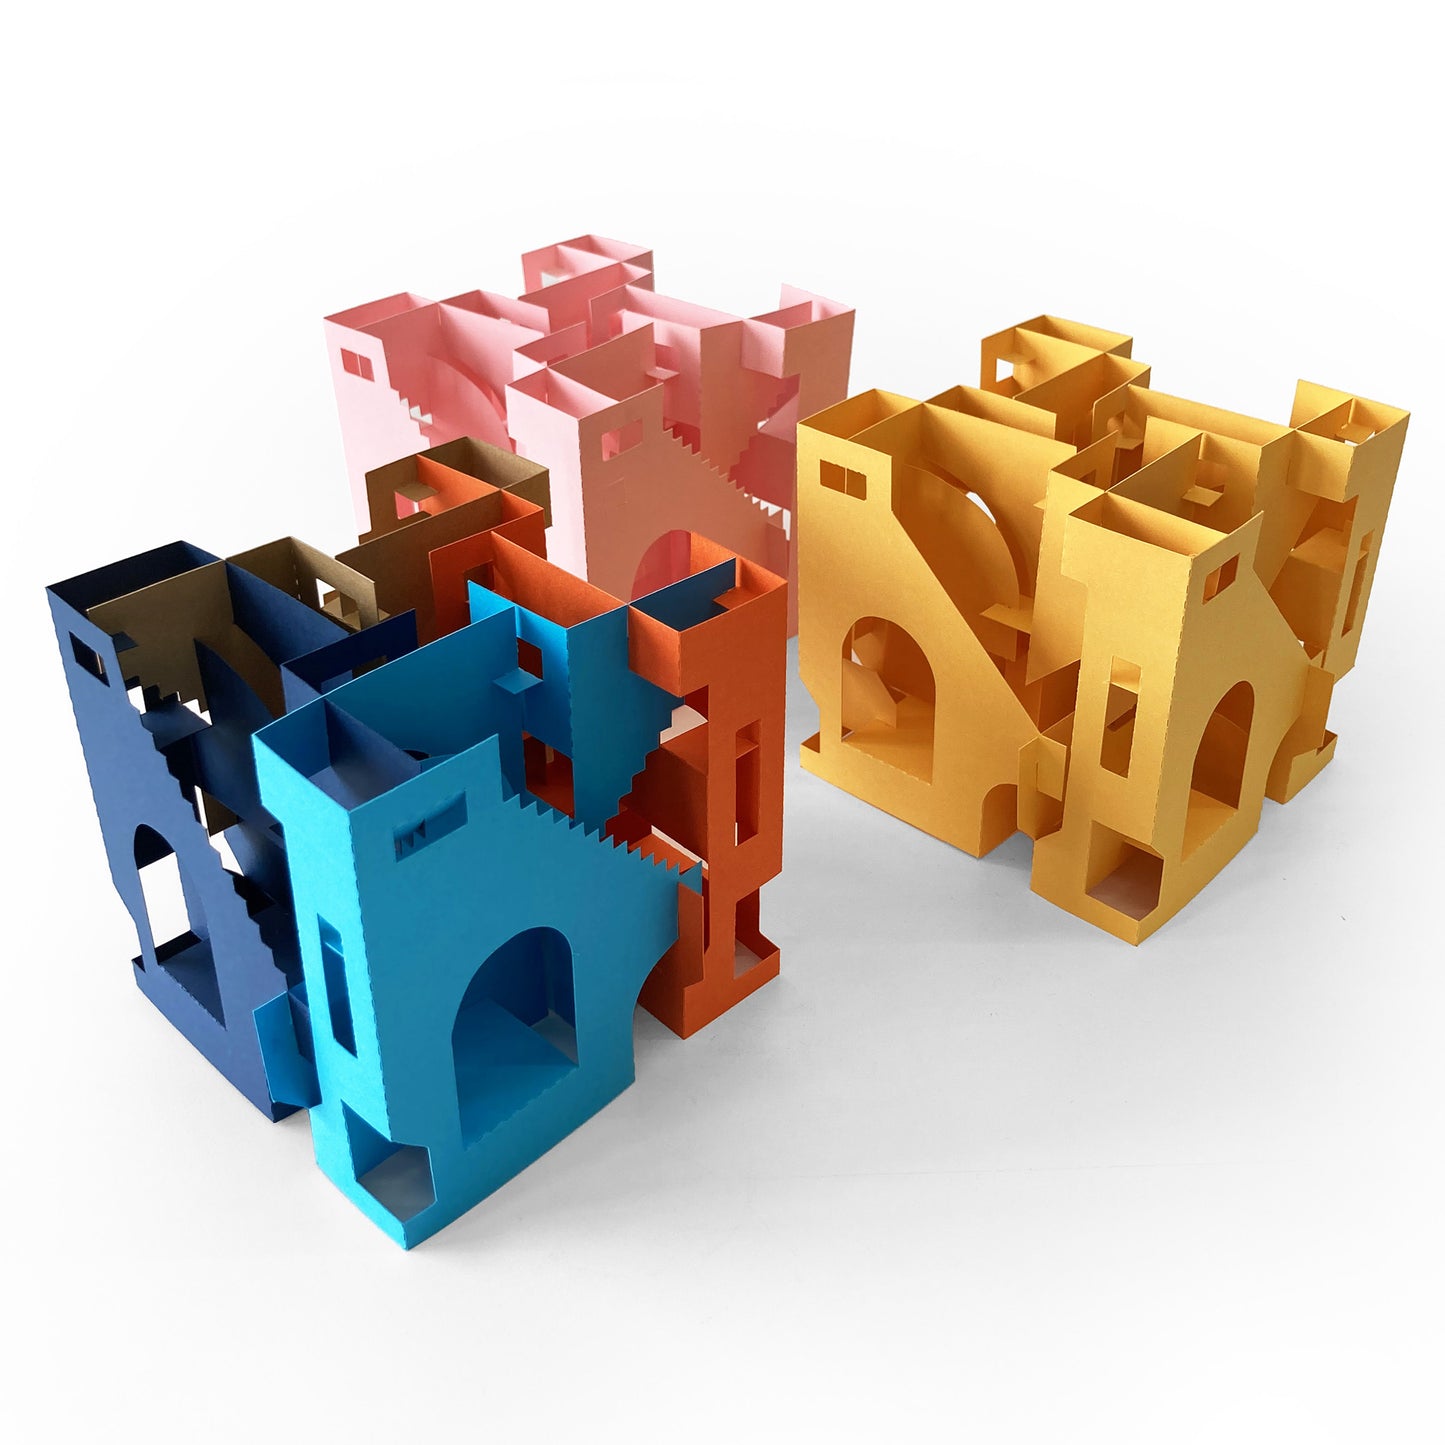
New Assembly System: Tabs instead of Slots
As I like to do, this structure is assembled entirely without glue. Instead of the “slots” I’ve used a lot before, the connection system here uses tabs and holes. It’s a system widely used in packaging. If you’ve never done it, try unfolding a shoebox (the one-piece kind with a folding lid). You’ll see, respect.

This system is, in my opinion, easier to cut, and it also allows two pieces to be firmly connected. Once inserted, the tabs lock in place and hold tight, almost hard to undo, which makes the final assembly very solid when done properly.
How to Assemble the Sculpture
To build it, you’ll need 7 pieces for the sculpture itself, plus one sheet for the base. For this model, I allowed a few liberties and stepped slightly outside the strict single sheet approach.
1. Follow the guide
There is still some complexity in this piece, but the instructions are very detailed.
I probably spent as much time making the assembly guide as designing the piece itself.

2. Prepare the pieces
Print and cut the PDF templates, or use the vector files with your cutting machine (Cricut, Silhouette).

3. Assemble the main volumes
The sculpture is composed of three interlocked volumes and a base.
Start by assembling the two horizontal volumes.

4. Connect the structure
Attach the horizontal volumes to the vertical core, then add the base to complete the assembly.


5. Add the base
Fix the sculpture onto the base to complete the assembly.
That’s it, your piece is finished.

Materials and Scale
As with any paper work, the choice of material and its thickness depend on the scale you’re working at. It’s entirely possible to make this piece by hand, by printing the PDFs on a home printer and cutting them with a precision knife.
If you’re lucky enough to have a cutting machine, vector files are also included (DXF and SVG).In both cases, you’ll be limited by your machine’s constraints in terms of size and paper (cardstock) thickness.
Since most printers are limited to A4/Letter format, the PDFs are set up accordingly. As for the SVG and DXF files, being vector formats, they can be scaled to any size.
Here are my paper weight recommendations, based on the scale you’re working at:
- Letter / A4: 80 lb / 216 gsm
- 12x12 in / 30x30 cm: 110 lb / 300 gsm
From experience, these ratios offer a good balance between rigidity and ease of handling, though there is some flexibility.
Also note that beyond thickness, the grain and finish of the material are very important.Try to use acid-free cardstock, with low fiber content and no coating.
Worth the Time
There is still some complexity in this piece, but the instructions are very detailed. I think I may have spent as much time making the assembly guide as designing the piece itself.
So, if you take your time and follow the guide carefully, you should be up to the challenge!